



























TECHNICAL SUPPORT


Published 2026-07-11
Quick Answer
You can control aservocontroller boardwith an Arduino by connecting the board's signal, power, and ground pins to the Arduino's digital output, external power supply, and common ground. The Arduino sends PWM signals to command position, speed, or torque. This setup is widely used in robotics, automation, and CNC applications. Before buying, confirm voltage compatibility, current rating, and communication protocol (eg, I2C, serial, or PWM). Choosing the wrong controller can lead to overheating, jittery motion, or communication failures. Always verify theservocontroller's input logic level and power requirements with your Arduino model.
Introduction
Many engineers and project managers face a frustrating gap: they have a clear motion control requirement, but the interface between theArduinoand theservocontroller boardfeels unclear. You may have selected a servo with the right torque and speed, only to find the controller board doesn't respond to your Arduino's signals. Or worse, the board burns out after a few test runs.
This mismatch often stems from ignoring logic voltage levels, current draw, or communication timing. In many procurement situations, buyers focus on servo specs but overlook the controller board's compatibility with standard microcontroller outputs. The result: delayed projects, unexpected redesigns, or repeated orders for replacement boards.
This article helps you understand how to match an Arduino to a servo controller board, what to check before purchasing, and how to avoid common integration failures that cost time and budget.
01Table of Contents
1. What Is a Servo Controller Board and How Does It Work with Arduino?
2. Key Specifications to Check Before Connecting
3. How to Wire an Arduino to a Servo Controller Board
4. Common Mistakes When Using Arduino with Servo Controllers
5. What to Compare Before You Buy a Servo Controller Board
6. Questions Buyers Often Ask About Arduino and Servo Control
7. Choosing the Right Servo Controller for Your Application
02What Is a Servo Controller Board and How Does It Work with Arduino?
Aservo controller boardis an interface between your control system (like an Arduino) and the servo motor. It interprets input signals—typically PWM, I2C, or serial commands—and drives the motor to the desired position, speed, or torque.
The Arduino sends a command, but it cannot directly power or regulate most industrial or hobby servos beyond very small sizes. The controller board handles power regulation, signal amplification, and feedback processing.
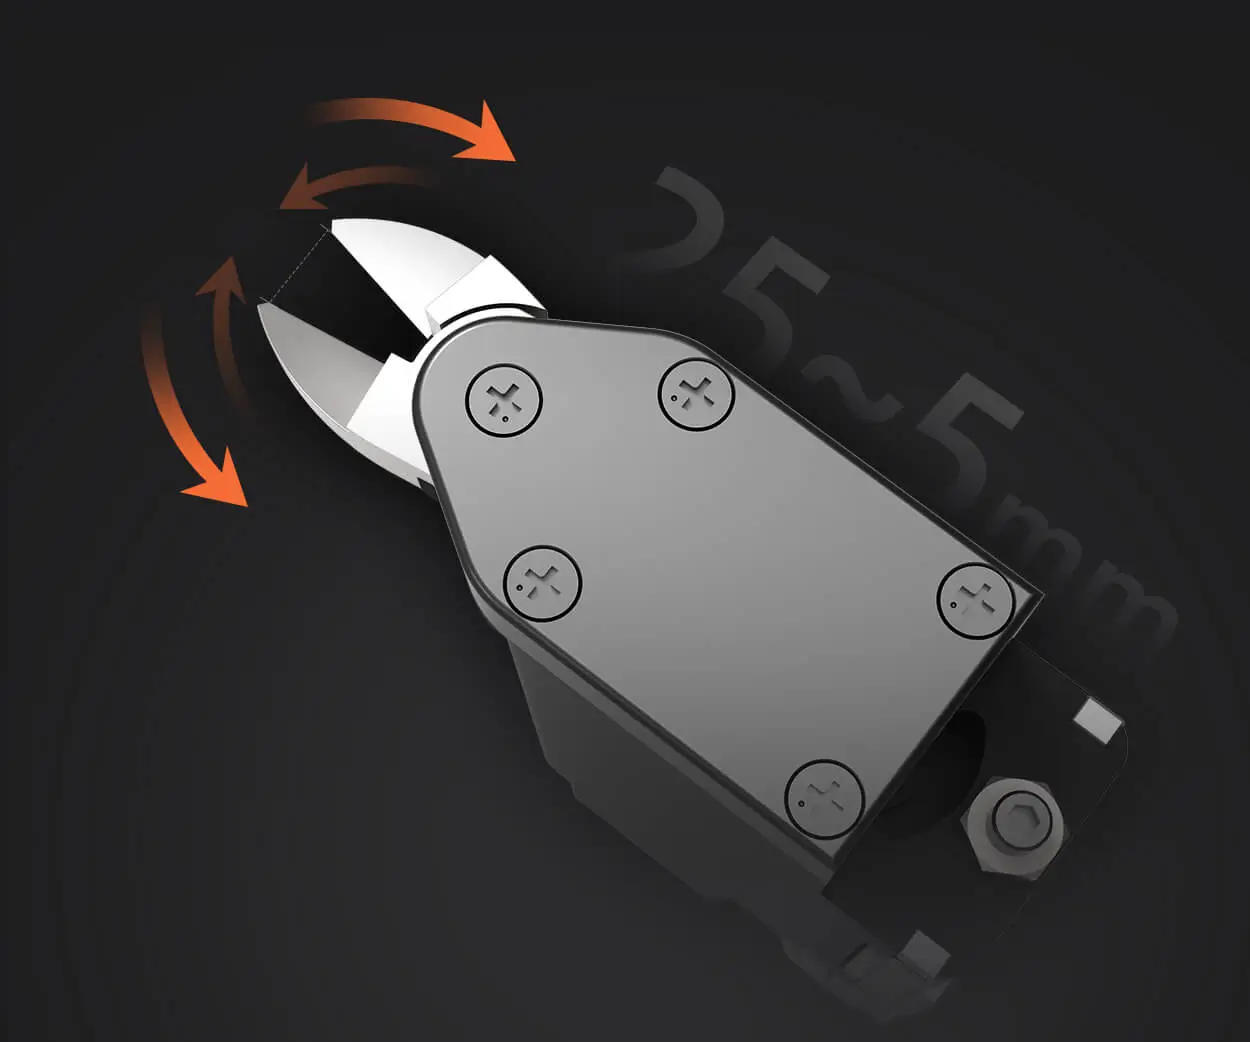
This separation matters because an Arduino's output pins typically supply only 5V at 40mA per pin. A servo motor may require 6V to 24V at several amps. Without a controller board, you risk damaging the Arduino or getting unreliable motion.
Why this matters for procurement:If you are sourcing a controller board for an Arduino-based project, you need to verify the input logic level, output current capacity, and communication protocol. Boards that only accept 5V logic may not work with 3.3V Arduino boards, and vice versa.
03Key Specifications to Check Before Connecting
When selecting aservo controller boardfor use with an Arduino, focus on these five parameters:
Example:If you are controlling six servos in a robotic arm, a 6-channelservo controller boardwith I2C interface and 5V logic input is a common match for an Arduino Uno.
Boards that use I2C communication allow you to control many servos using only two Arduino pins (SDA and SCL). This frees up other pins for sensors or additional control logic.
04How to Wire an Arduino to a Servo Controller Board
A typical connection follows these three steps:
Step 1 — Power:Connect the servo controller board's power input to an external power supply. Do not power it from the Arduino's 5V pin unless the total current draw is under 500mA and the board is rated for that.
Step 2 — Signal:Connect the Arduino's digital output pin (eg, pin 9 for PWM) to the controller's signal input pin. For I2C boards, connect SDA and SCL to the corresponding Arduino pins.
Step 3 — Ground:Connect the Arduino's GND to the controller board's GND. This is mandatory. Without a common ground, signals become erratic, and the servo may twitch or fail to hold position.
Common issue:Many first-time integrators forget the ground connection. The servo appears unresponsive or moves randomly. Always verify the ground loop before troubleshooting other components.
05Common Mistakes When Using Arduino with Servo Controllers
Mistake 1 — Ignoring power requirements.A servo under load can draw 2–5 times its rated current during startup or stall. If your power supply is undersized, the controller board may reset or the servo may stutter.
Mistake 2 — Using 3.3V Arduino with 5V logic controllers.Someservo controller boardsexpect 5V logic signals. A 3.3V Arduino (like the Due or Zero) may not reliably trigger the logic high threshold. Use a level shifter or select a board that supports 3.3V input.
Mistake 3 — Overloading the Arduino's onboard regulator.If you power multiple servos from the Arduino's 5V pin, the onboard regulator overheats and shuts down. Always use an external power supply for servo power.
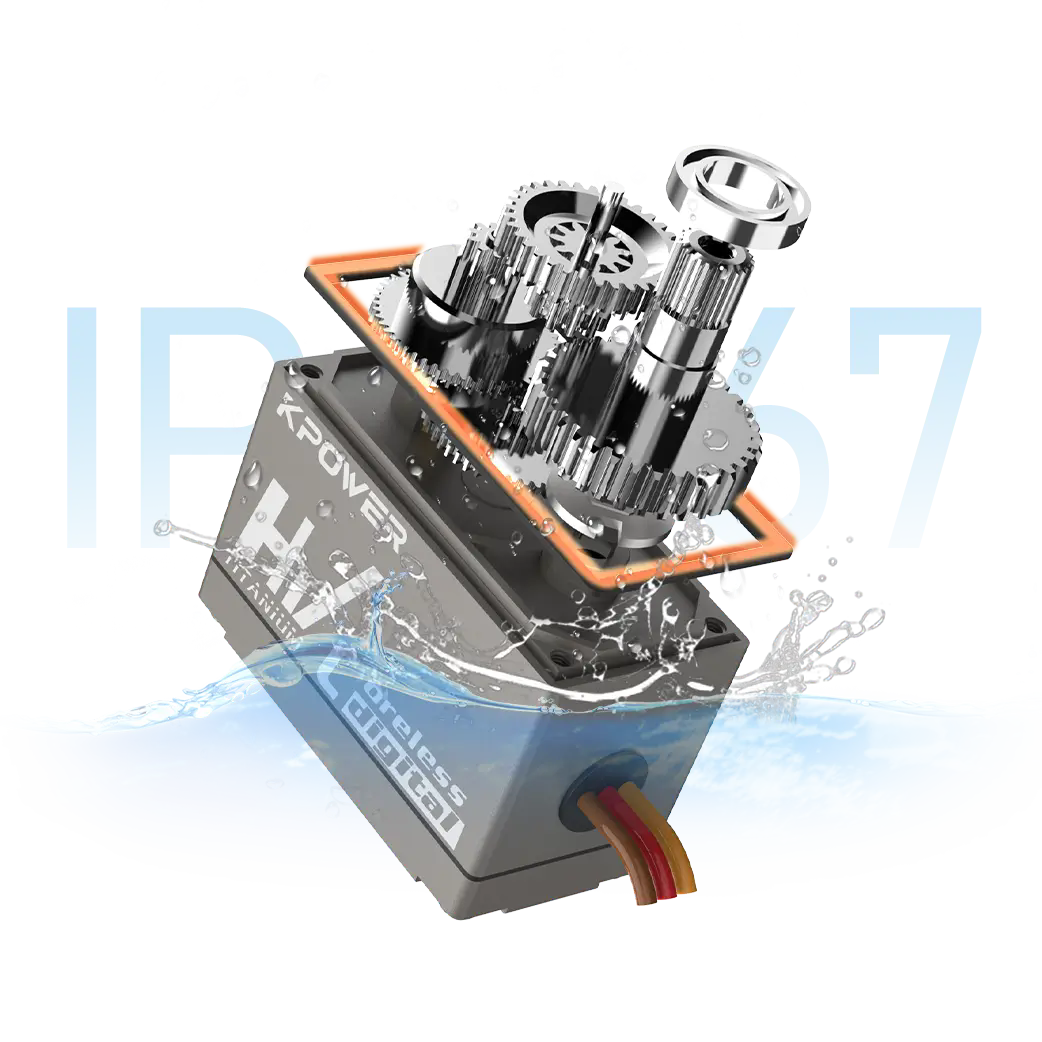
Mistake 4 — Not checking communication timing.Some serial-based controller boards require specific baud rates or handshake sequences. If your Arduino code does not match, the board will not respond.
06What to Compare Before You Buy a Servo Controller Board
Use this comparison table when evaluating options for an Arduino-based project:
Key takeaway:If your project requires more than four servos or needs position feedback, an I2C or serial-basedservo controller boardis usually a better choice than individual PWM pins.
07Questions Buyers Often Ask About Arduino and Servo Control
Q1: Can I control a servo directly from an Arduino without a controller board?
Yes, for small hobby servos (9g to 20g) drawing under 500mA. For larger or multiple servos, a controller board is recommended to protect the Arduino.
Q2: What happens if I use a 5V servo controller with a 3.3V Arduino?
The controller may not recognize the logic high signal. Use a level shifter or choose a board that accepts 3.3V logic.
Q3: How do I know if my power supply is sufficient?
Add the peak current for all servos and multiply by 1.5 for safety margin. For example, four servos rated at 1A each may draw 6A during startup.
Q4: Can I control multiple servos with one Arduino pin?
Not directly. Use a servo controller board with I2C or serial communication to control many servos from one pin pair.
Q5: What is the most common communication protocol for beginners?
PWM is simplest for one or two servos. I2C is preferred for multi-servo projects because it uses fewer pins.
Q6: Do all servo controller boards support feedback?
No. Feedback requires boards with dedicated input for potentiometer or encoder signals. Verify before purchase.
Q7: Can I use a servo controller board with an Arduino Mega?
Yes. The Mega has more PWM pins and supports I2C and serial communication. Ensure logic voltage compatibility.
Q8: What should I check if my servo jitters after connecting?
Check the ground connection, power supply stability, and signal wire shielding. Also verify that the PWM frequency matches the servo's specification.
Q9: Is it safe to hot-swap servos while the controller board is powered?
Not recommended. Hot-swapping can cause voltage spikes that damage the controller or the servo.
Q10: Where can I find the correct library for my servo controller board?
Most manufacturers provide Arduino libraries on their website or GitHub. Verify library compatibility with your Arduino IDE version.
08Choosing the Right Servo Controller for Your Application
Selecting aservo controller boardfor Arduino integration comes down to three decisions: power, communication, and channel count.
For a single-axis project with low torque, a basic PWM controller or direct Arduino connection may work. For multi-axis systems, an I2C or serial controller reduces wiring complexity and improves reliability.
When to choose a basic PWM board:You need one or two servos, low budget, simple code.
When to choose an I2C or serial controller:You need three or more servos, feedback, or precise speed control.
What to avoid:Boards with unclear documentation, no logic voltage specification, or missing ground pins. These often lead to integration delays.
If you are evaluating aservo controller boardfor an upcoming project, start by listing your servo count, voltage requirements, and desired communication method. Then cross-check with the specification table above. This approach reduces the risk of ordering an incompatible board and helps you move from prototype to production faster.
For a detailed engineering review of your motion control requirements, consider sending your specifications to a supplier who can verify compatibility between your Arduino and the servo controller board.
Update Time:2026-07-11

Contact Kpower's product specialist to recommend suitable motor or gearbox for your product.


