


TECHNICAL SUPPORT


Published 2026-04-19
Direct Answer:For the vast majority of standard hobbyservomotors (the type used in robotics, RC cars, and animatronics),no, you do not need a separate "driver circuit"in the way you do for a simple DC motor or a stepper motor. A standardservomotor has a built-in control circuit and a feedback system. However, the more nuanced and critical answer is:you almost always need a power supply circuit and a signal generator, but not a separate H-bridge or motor driver IC.
This guide provides a complete, actionable explanation of why this is the case, exactly what you need to connect a servo correctly, and when you might actually require an external driver.
A standard servo motor is not just a motor. It is an integrated, closed-loop system containing three key components:
1. A DC Motor:The component that generates rotational force (torque).
2. A Control Circuit Board:A small PCB with a microcontroller,comparators, and transistors.
3. A Feedback Mechanism (Potentiometer):A variable resistor attached to the output shaft that tells the control circuit the exact current position of the servo horn.
Because the control circuit isinsidethe servo, you do not need to build an external circuit to manage current direction or speed modulation. The servo's internal circuit handles all of that. Your job is simply to provide two things:stable powerand acontrol signal.
Real-world analogy:Think of a servo like a "smart" light bulb with its own built-in processor and dimmer. You don't need to build a dimmer circuit; you just need to supply the correct voltage and send it a digital command (like "set to 50% brightness"). A simple DC motor, in contrast, is like a bare light bulb. To control its speed or direction, youmustbuild an external dimmer (a driver circuit) yourself.
To make a standard servo function, your project must provide the following. Failure to provide either correctly is the #1 reason servos fail to work or behave erratically.
This is where most beginners make a mistake. The servo's internal electronics need power, and the internal DC motor needs significant current to move, especially under load.
Voltage:Most standard servos are designed for4.8V to 6.0V(from 4x AA batteries or a 5V regulator). High-voltage servos may require 7.4V or more.Always check your servo's datasheet.
Current (Amperage):This is the critical factor. A small 9g servo might draw 200-500mA. A standard-sized servo (like an MG995) can draw 500mA-1A with no load and2.5A or more when stalled or moving a heavy object.
The Common Mistake:Directly powering a servo from a microcontroller's 5V pin (e.g., from an Arduino or a Raspberry Pi). A microcontroller's voltage regulator typically provides only 300-500mA. When the servo tries to draw 1A, the microcontroller willbrown out (reset) or be permanently damaged.
Correct Power Supply Solutions:
Actionable Rule: Never power a servo from your microcontroller's 5V pin.Always use a separate, dedicated power source that shares a common ground (GND) with your microcontroller.
The servo does not use a "driver" signal. It uses a position command signal calledPulse Width Modulation (PWM). The internal circuit reads this signal and drives the DC motor until the feedback potentiometer matches the commanded position.
Signal Characteristics:A 3.3V or 5V digital pulse, repeating every 20 milliseconds (50Hz).
How it Works:The width (duration) of the pulse determines the position.
1.0 ms pulse:Typically commands 0 degrees (full left).
1.5 ms pulse:Typically commands 90 degrees (center).
2.0 ms pulse:Typically commands 180 degrees (full right).
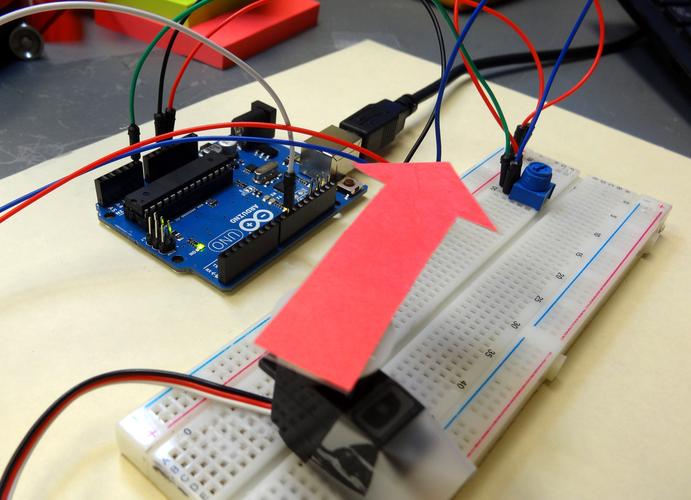
Who Generates It:A microcontroller (Arduino, ESP32, Raspberry Pi Pico), an RC receiver, or a dedicated servo tester.
You do not need an external "driver" for this signal. A simple GPIO (General Purpose Input/Output) pin from any microcontroller can generate this signal perfectly.
While a standard servo does not need a driver, certain specific cases do require one. Here is the complete list.
A continuous rotation servo is a modified servo where the feedback potentiometer is removed or disabled. It functions like a geared DC motor. The PWM signal no longer commands a position (e.g., "go to 90°"). Instead, it commands adirection and speed(e.g., "full speed forward", "stop", "half speed reverse").
Do you need a driver?No. It still uses the same PWM signal. No external driver is required.
Very large servos (e.g., 50kg/cm torque or more) can have stall currents exceeding 10-15 amps. While they still have internal control circuits, their current draw can destroy a standard microcontroller pin or cause catastrophic voltage drops.
Do you need a driver?No. You need adedicated, high-current BEC (Battery Eliminator Circuit)or a very large external power supply, but still no "driver" circuit. You may also need anopto-isolatoron the signal line to protect your microcontroller.
Some microcontrollers (e.g., Raspberry Pi, ESP32) use 3.3V logic. A servo expects a 5V logic signal. While a 3.3V signaloftenworks, it can lead to erratic behavior or failure to move to the commanded position.
Do you need a driver?You need alogic level shifter(a 3.3V to 5V converter) on the signal line. This is a simple, passive circuit, not a motor driver.
Industrial AC servos and advanced BLDC servos (like those in CNC machines or electric vehicles) have a fundamentally different design. They have no internal control circuit. They require anexternal servo drivethat generates three-phase AC power.
Do you need a driver? Yes, absolutely.This is the only true "exception." These are not hobby servos. If you have an AC or BLDC servo, you must purchase a matching external servo drive. This guide does not apply to these components.
Even with the correct setup, issues arise. Here are the most frequent real-world problems and their solutions.
Core Principle Restated:A standard hobby servo motor does not require an external H-bridge or motor driver circuit because the driving electronics are already built inside the servo.
Your Action Checklist for a Successful Servo Project:
1. Identify your servo type.Is it a standard hobby servo (3-wire: power, ground, signal)? If yes, proceed. If it's an industrial AC/BLDC servo, stop and buy a dedicated drive.
2. Read the datasheet.Find the exact operating voltage (e.g., 4.8-6.0V) and the stall current (e.g., 2.5A @ 6V).
3. Design your power circuit:
Use a dedicated battery pack or regulated power supply that can delivertwicethe stall current (e.g., 5A supply for a 2.5A stall servo).
Never connect the servo's red (V+) wire to a microcontroller's power pin.
Always connect the servo's brown/black (GND) wire to both the power supply GNDandthe microcontroller GND.
4. Add a capacitor.Solder or connect a 1000µF (or larger) electrolytic capacitor across the V+ and GND rails near the servo. This is not optional for reliable operation.
5. Generate the signal.Use any microcontroller GPIO pin to generate a 50Hz PWM signal with a 1.0ms to 2.0ms pulse width. No external components are needed on the signal line (unless using 3.3V logic).
6. Test incrementally.Start with a simple "sweep" code before adding mechanical load.
By following this guide, you will never damage a microcontroller due to servo current draw, and your servos will operate reliably. Remember:Provide stable, high-current power and a clean signal, and the servo does the rest.For AC or BLDC servos, the opposite is true: you must have a dedicated external driver.
Update Time:2026-04-19
Contact Kpower's product specialist to recommend suitable motor or gearbox for your product.


