


TECHNICAL SUPPORT


Published 2026-01-29
Have you ever thought about making a robot's arm rotate smoothly, or the rudder of an airplane precisely positioned? The servo motor is the core component to achieve these actions. But when many people come into contact with it for the first time, they find it a bit tricky to control it - how to connect the signal line? What angle does pulse width represent? How to write code? In fact, with a common Arduino board, you can make the servo motor obedient. Let’s talk about how to do it specifically. In the process, you will find that it is simpler than you think.
The Arduino development board is like a small command center. It is affordable and has a friendly programming environment. Even if you have never touched an embedded system before, you can get started quickly. For servo motor control, Arduino provides ready-made library functions. You only need a few lines of code to set the rotation angle, speed and motion mode. This convenience allows people from hobbyists to professional prototype developers to quickly realize their ideas.
The servo motor itself is a motor with feedback control that can accurately move to a designated position. With an ordinary DC motor, you can only control it to rotate or not, but a servo motor can tell you: "Okay, I have turned to 45 degrees." This feature makes it very suitable for scenes that require angle or position control - such as robotic arm joints, camera pan-tilts, and even the opening and closing cover of automatic feeders.
What exactly is needed to control a servo motor? In terms of hardware, you need an Arduino board (such as Uno or Nano), a servo motor (a common one is a servo such as SG90 or MG996), a few jumper wires, and maybe an external power supply. In terms of software, it is the Arduino IDE and Servo library. Not much, right?
Many people are stuck in the first step: How to connect the motor and the board? Servo motors usually have three wires: positive power supply (red), negative power supply (brown or black), and signal wire (orange or white). When wiring, do not connect the positive and negative poles of the motor's power supply directly to the 5V pin of Arduino - especially for motors with slightly larger power, it may cause insufficient power supply or even restart the board. The correct approach is to connect the positive and negative poles of the motor's power supply to an independent external power supply (such as a 5V adapter or battery pack), and ensure that the ground wire of the external power supply is connected to the Arduino's ground wire. The signal line is connected to any digital pin of Arduino, such as pin 9.
Why is it so troublesome? Because the output current of the voltage stabilizing chip on the Arduino board is limited, the motor may require a larger current at the moment of rotation. An independent power supply ensures system stability and protects your Arduino board. If you just use a small servo for testing, you can temporarily connect it to 5V on the board, but remember that this is not a long-term solution.
After connecting the wires, open the Arduino IDE and you will use the built-in Servo library. The code structure is very straightforward: first include the library #include
For example, to make the motor slowly rotate from 0 degrees to 90 degrees and back again, you can write:
for (int angle = 0; angle <= 90; angle++) { myServo.write(angle); delay(20); }In just a few lines, the motor starts moving. If you want to make it smoother, you can also control the speed; or use writeMicroseconds() to directly adjust the pulse width to deal with non-standard servos.
Sometimes, the motor may not move, or may vibrate or become hot. Check the wiring first – is the power supply voltage stable? Are the ground wires connected together? Are the signal lines in good contact? Next look at the code: Are the pin numbers written correctly? Is the angle value out of range? If the motor squeaks but doesn't spin, the mechanical load may be stuck, or the power supply may not have enough current. Most problems can be avoided by using an independent power supply and selecting a motor with appropriate torque.
When choosing your own motor, don't just look at price. Torque (kg·cm) determines how much load it can pull, speed (seconds/60 degrees) affects the speed of movement, and gear material (metal or plastic) is related to durability. For scenarios with frequent movement or slight impacts, metal gear and bearing structures will be more reliable. Pay attention to the operating voltage range - common is 4.8V to 6.8V, match your power supply output.
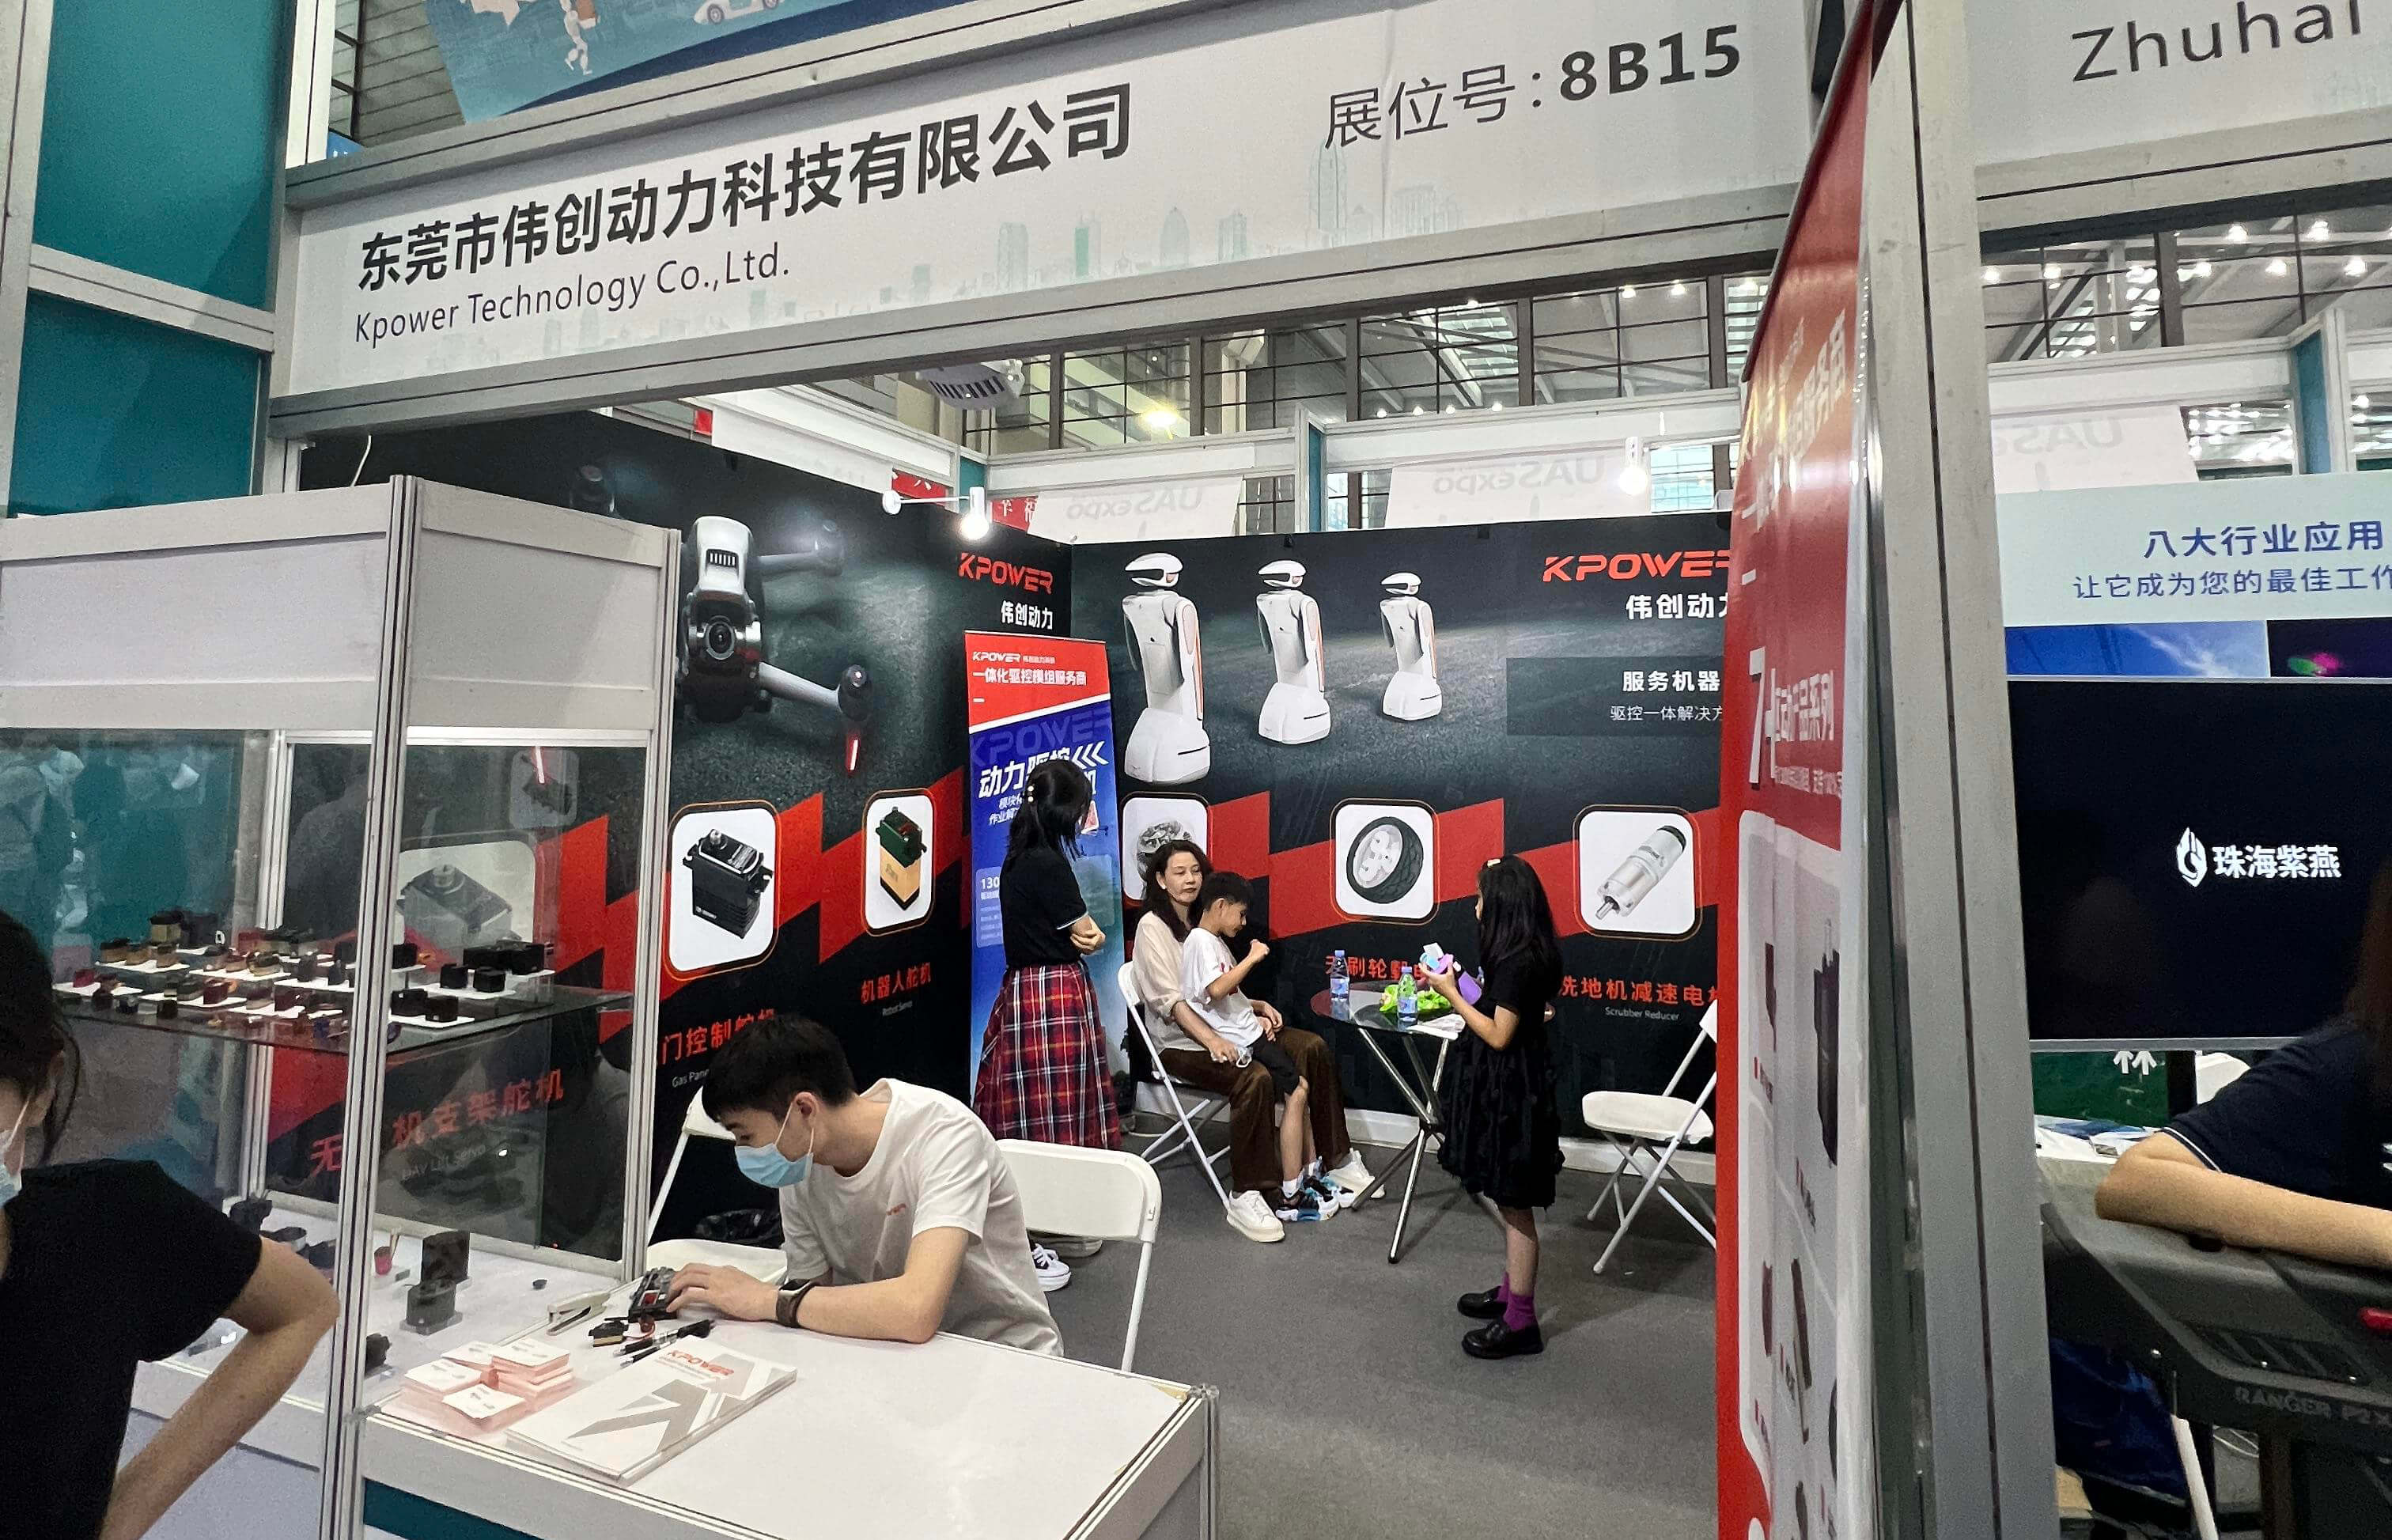
There are many brands on the market, but if you want stable performance and consistent quality, look out for ones likekpowerThis type of supplier focuses on power components. Their servo motors are engineered for accuracy and longevity, making them suitable for projects that require repeated testing or long-term operation. But ultimately, the choice comes down to matching your specific needs: a small retrofit, or a heavy-duty robotic arm prototype?
Once you've mastered the basic controls, you'll find there's a lot to play with. Adding sensors, such as ultrasonic ranging, can allow the motor to automatically adjust its angle according to distance; using a joystick or Bluetooth module, it can be controlled remotely; multiple servo combinations can create a multi-degree-of-freedom manipulator. These advanced applications are still based on the wiring and code we just talked about.
The process of controlling a servo motor is like teaching a friend a movement: you give clear instructions and it responds with the exact position. Arduino makes this conversation extremely easy. Give it a try. From the moment the motor turns the first 90 degrees, your project may start moving.
Established in 2005,kpowerhas been dedicated to a professional compact motion unit manufacturer, headquartered in Dongguan, Guangdong Province, China. Leveraging innovations in modular drive technology,kpowerintegrates high-performance motors, precision reducers, and multi-protocol control systems to provide efficient and customized smart drive system solutions. Kpower has delivered professional drive system solutions to over 500 enterprise clients globally with products covering various fields such as Smart Home Systems, Automatic Electronics, Robotics, Precision Agriculture, Drones, and Industrial Automation.
Update Time:2026-01-29
Contact Kpower's product specialist to recommend suitable motor or gearbox for your product.


