


TECHNICAL SUPPORT


Published 2026-03-03
When playing with aservo, one of the most vexing problems is finding that its rotation direction is exactly opposite to your design. I originally wanted the gimbal to turn left, but it turned to the right; I wanted the front wheel of the car to turn right, but it turned left. Don't worry, it's not that theservois broken, but that its "thinking" is exactly the opposite of your instructions. Today we will talk about how to easily solve this reversal problem so that you will no longer be tripped by this small obstacle on the road to innovation.
When encountering this situation, don’t even think about returning the product as your first reaction. This is actually one of the most common "little tempers" in steering gear use. There are usually two ways to solve it. One is to adjust the software when writing the code, and the other is what we will focus on today, which is to achieve physical inversion through small adjustments on the hardware. For friends who don’t want to mess with the code, or the controller does not support modifying the program, hardware inversion is a more direct “firefighter”.
Of course you can, and the method is quite clever. The core idea is to "trouble" the feedback potentiometer inside the steering gear. Specifically, the servo's ability to know where it is turning depends entirely on an internal component called a potentiometer. We only need to swap the two signal lines to trick the "brain" of the servo and make it regard the original left side as the right side, thus achieving a physical reversal. This method does not require you to have programming knowledge, just pick up a soldering iron and get started.
In actual operation, the convenience of this method is particularly prominent. Because it does not require complex programming skills, it is a simple and easy way for those who are not familiar with programming. Just by adjusting the signal line of the potentiometer, the steering gear can be easily reversed, which brings great convenience to related application scenarios. This method of operation not only saves time, but also lowers the technical threshold, allowing more people to use the steering gear to complete various interesting creative projects.
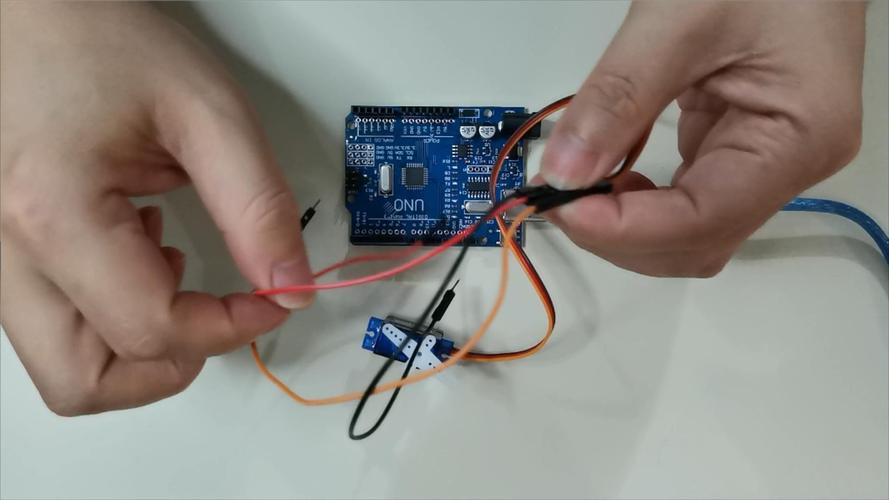
️Step one: Carefully open the back cover of the servo. You will see a small circuit board inside. There is a small round component with three pins on it, which is the potentiometer.
️Step 2: Use a solder extractor and a soldering iron to remove any one of the middle pin and the two outer pins connecting the potentiometer, then reverse the positions and re-solder them.
️Step 3: Swap the power lines of the motor itself, usually the two lines on the motor. After completing these two steps, close the back cover, turn on the power and try to see if the direction has been changed?
If a worker wants to do his job well, he must first sharpen his tools. When preparing for this minor surgery, it's important that you have all the tools you need. First of all, the soldering iron is an indispensable item. It is best to have a pointed head so that it can be easily operated. Secondly, the solder absorber can help you clean the original solder joints and prevent the solder from adhering. Then there's solder wire and flux, which make the soldering process stronger and smoother. Finally, a small Phillips screwdriver is needed to remove the servo housing. These things are not expensive, and you can get an entry-level tool set for just a few dozen dollars online.
Once you have these tools ready, you can start the work in an orderly manner. The tip of the soldering iron can accurately reach each soldering point, making the soldering operation easy. The solder absorber plays a key role in cleaning the solder joints spotlessly and creating good conditions for subsequent soldering. The solder wire and flux work together to make the welded connection more stable and smooth. The small Phillips screwdriver comes in handy when disassembling the servo housing. If you successfully complete this step, you can further carry out related maintenance or adjustment work. Although the entire preparation process is simple, every tool plays an important role in it, and together they lay the foundation for the successful completion of this small surgery.
It depends on the specific scenario it is used in. If you are doing course design or participating in competitions, and the program often needs to be modified, then writing.write(180 - angle)in the code to implement the inversion operation will obviously be more flexible and you can adjust it back at any time.
But if you are making a product, or there are restrictions on the controller interface, hardware inversion is a once-and-for-all method, and you don't need to worry about it after the welding is completed. And hardware inversion does not occupy additional computing resources, which is undoubtedly a plus point for projects that pursue ultimate stability.
This is completely reassuring. The principle of hardware inversion is to change the feedback mechanism without destroying the closed-loop control of the servo itself. As long as your welding skills are passable and the circuit board is not short-circuited, the reversed servo can still accurately reach the angle you specified. For example, if you originally turned it 90 degrees, it went to the right; now if you let it turn 90 degrees, it will accurately go to the symmetrical left position, and the accuracy will not be compromised at all.
If the servo doesn't respond after welding, or if it buzzes or vibrates, don't panic. This is usually caused by two problems: First, the copper foil on the circuit board is accidentally broken during soldering, or the pins are connected together by tin, causing a short circuit. Second, the motor wire or potentiometer wire is not soldered firmly, and there is a virtual connection. At this time, you need to reopen it, use a magnifying glass to carefully check the solder joints, and then use a multimeter to test the continuity. As long as the circuit board is not burned, cleaning the solder joints and performing repair welding can probably save it.
If the servo has not returned to normal after the above operations, then you need to further investigate other possible causes. For example, check whether the power supply of the servo is stable, whether there are other components that interfere with the servo, etc. During the troubleshooting process, you must be patient and careful, and gradually find out the problem and solve it to ensure that the steering gear can work normally.
After talking so much about servo reversal, I wonder if in the projects you are currently working on, have you ever encountered problems with direction? Do you plan to use software to solve the problem easily, or are you ready to pick up a soldering iron and try the fun of hardware DIY? Welcome to chat about your thoughts in the comment area, and give it a like to share it so that more friends who play servos can see this tip!
Update Time:2026-03-03
Contact Kpower's product specialist to recommend suitable motor or gearbox for your product.


