


TECHNICAL SUPPORT


Published 2026-04-30
This article explains the standard wiring method between the servo motor, the controller and the power supply, as well as the analysis of the core points of the video tutorial.. All procedures are based on common industry standards and do not contain recommendations for any specific brand. The goal is to use the shortest possible time to build a clear, safe and executable path before you start wiring.
When watching any "servo and servo motor wiring video", it is straightforward to check the key steps in the following order. The core value of video tutorials is to demonstrate the line sequence and details in a dynamic form. However, all videos should follow the following physical rules that will not change.
1. To confirm the power supply, first ensure that the power supply voltage is consistent with the rated voltage of the servo or servo motor driver. Common situations include 5V, 12V, 24V DC or 220V AC.
2. The positive pole of the power supply, which is normally a red or brown wire, must be connected to the "+" or "V+" terminal of the driver, while the negative pole, which is a black or blue wire, must be connected to the "-" or "V-" terminal. This is the most priority and most basic step.
3. Connect the pulse output pin of the controller (such as PLC, Arduino, motion control card) to the "PUL+" or "STEP+" terminal of the driver, and connect the direction signal pin to the "DIR+" terminal. In the common cathode connection method, connect the GND common terminal of the controller to the "PUL-" and "DIR-" terminals of the driver.
4. If the encoder feedback line needs to be connected according to the actual situation, and if there is a need for closed-loop control, then the three phase signals A, B, and Z related to the motor encoder line must be connected to the corresponding feedback interface of the driver in a matching manner. And be sure to operate strictly according to the pin definition diagram presented in the device manual.
5. Grounding and shielding: Connect the ground terminals of all devices in the system, that is, GND and PE, to the same ground point. When using shielded cables, the shield is grounded at a separate point on the controller end to suppress electromagnetic interference.
As the core action, the suggestion is to use the on-off setting of the multimeter to check whether there is a short circuit in all power lines before performing power-on operation.。When powering on for the first time, it is recommended to use a low-power power supply in current-limiting mode, or to connect a safety resistor (such as 1 ohm/10W) in series for protection.。
This section will break down in detail a wiring process that meets engineering standards. You can use this list as a comparison standard to evaluate no matter which "How to wire steering gear and servo motor video” completeness and correctness.
When watching the video and before starting the actual operation, be sure to confirm the following three items, because 90% of wiring failures originate from this.
Confirm interface type:
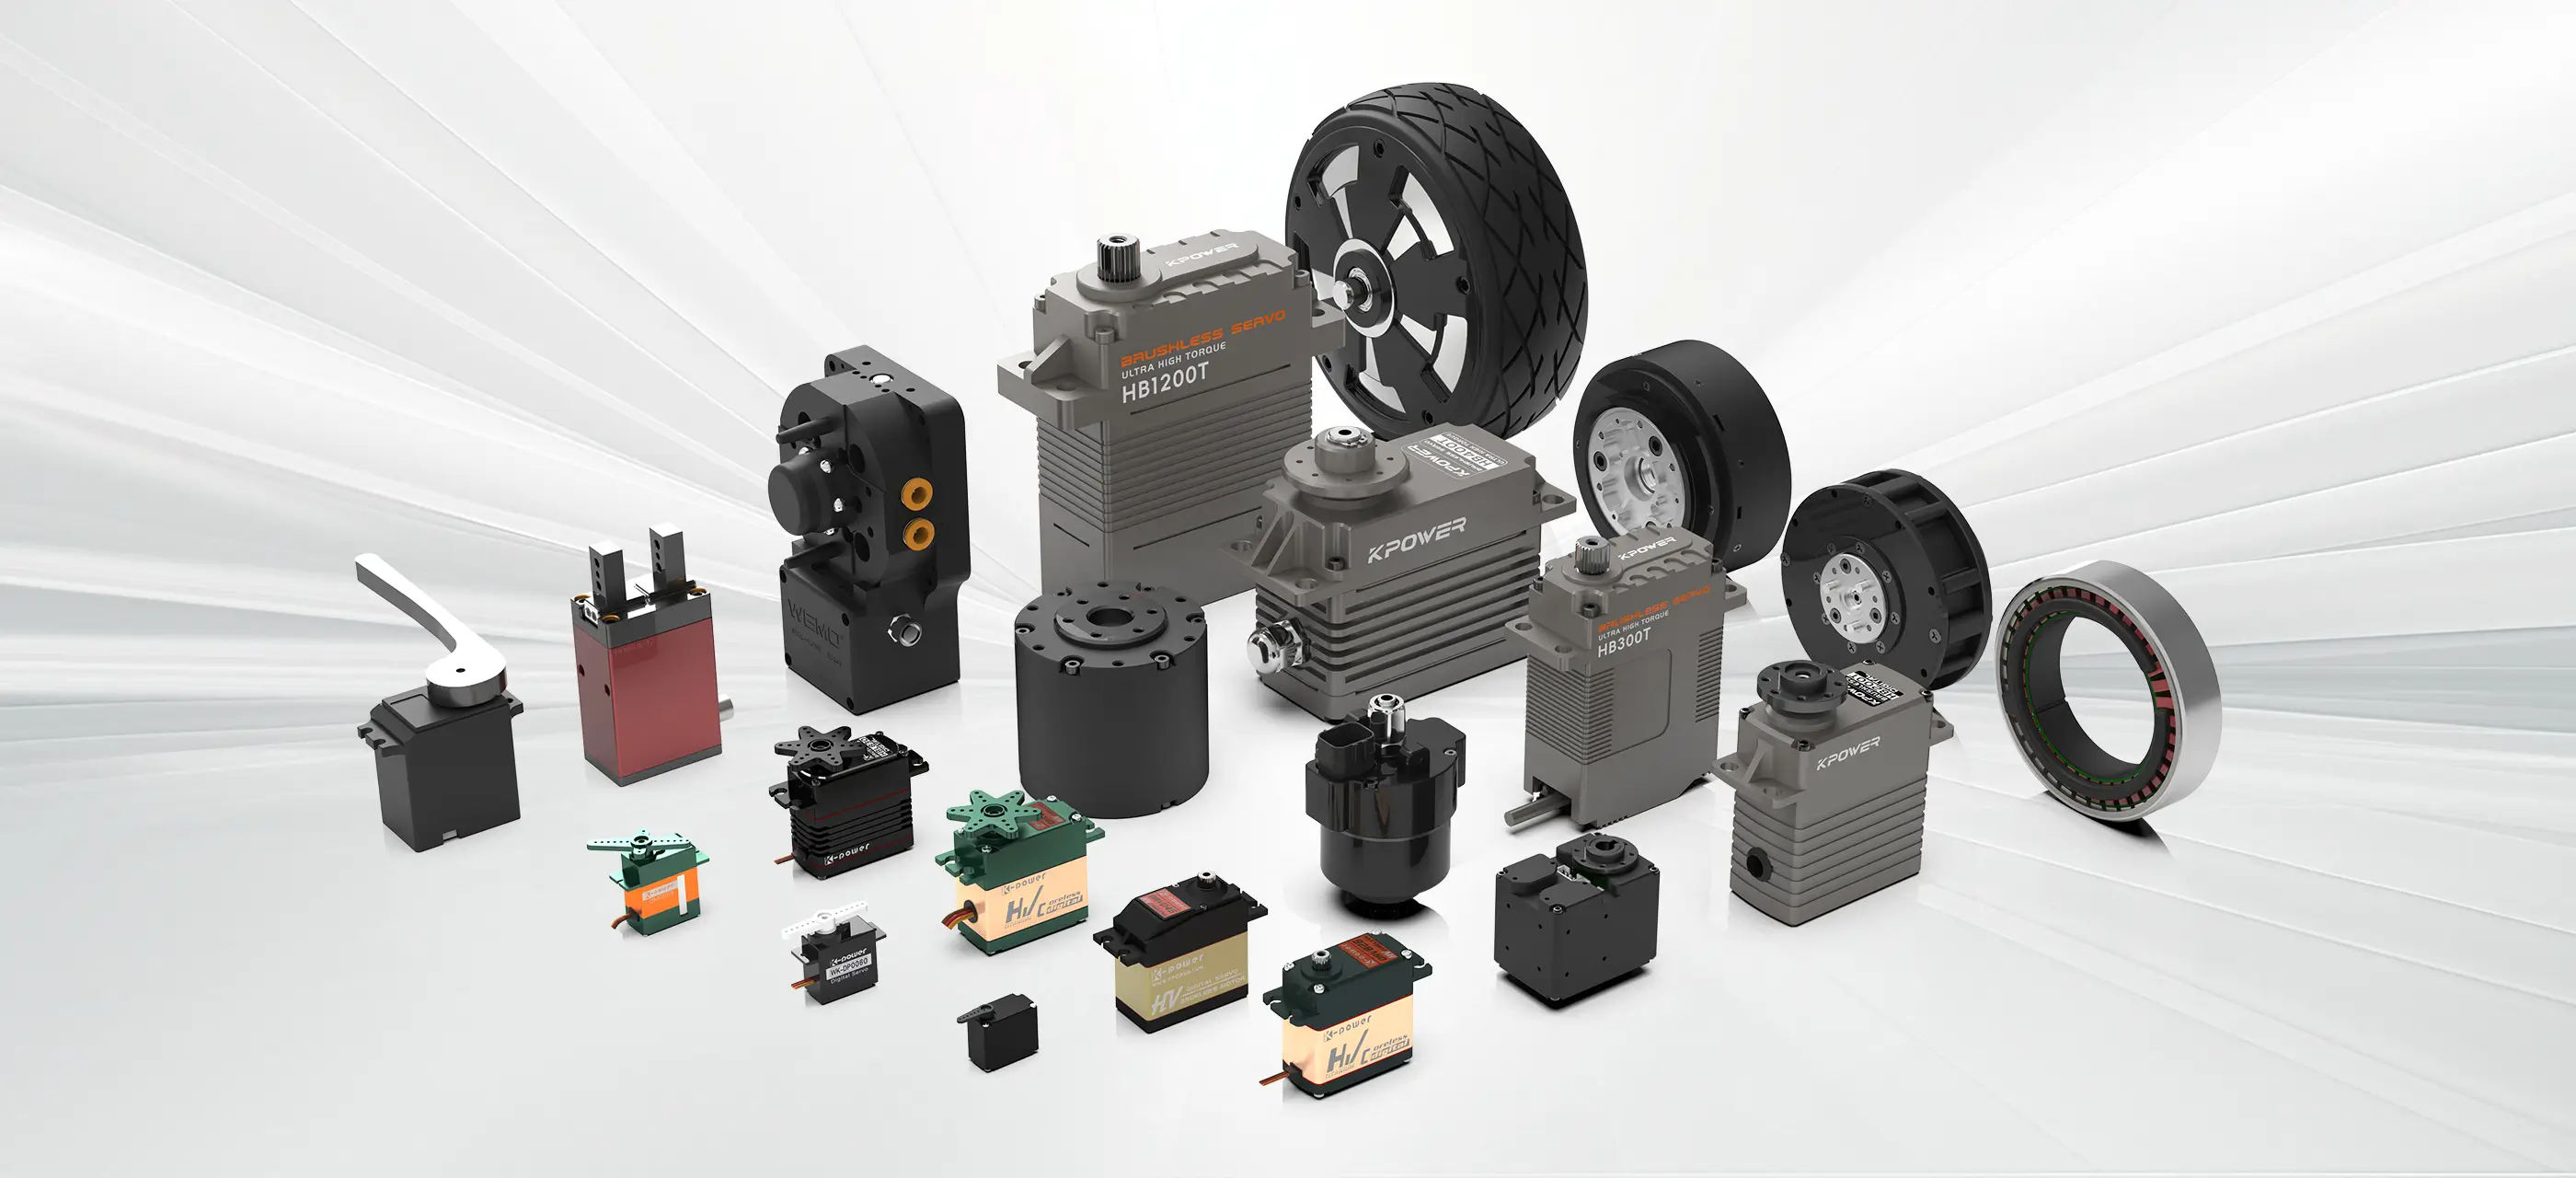
The steering gear generally has a three-wire interface. These three wires are the positive pole of the power supply, the negative pole of the power supply and the signal wire. Most of its interface standards are DuPont lines. The pitch of this DuPont line is 2.54mm, or it is a cross-shaped plug.
Servo motors with drivers have many interfaces, which at least cover the main circuit power input, including R, S, T or L1, L2, L3. In addition, there are also control signal interfaces, namely CN1, and encoder interfaces, namely CN2. Most of these interfaces are European-style barrier terminals or DB headers that can be plugged and unplugged.
Confirm voltage range:
Check the nameplate on the side of the servo or servo motor driver. The voltage range should include the power supply voltage you will use. For example, a driver marked "24VDC ±10%" cannot be connected to a 48V power supply.。
Preparation tools:
Crimping pliers will be used, as will diagonal pliers. In addition, wire strippers will also be used. In addition, there is a small slotted screwdriver, which is used for terminal crimping, and finally a multimeter.
When the video explanation reaches the power part, you need to pause and then check the following actions one by one. If any video skips confirming the following details, its reference value will be extremely weakened.
Single phase or three phase judgment:
Small servo with power of 400W and below generally has single-phase 220V AC input, and its terminals are L1, L2 or L, N.
The medium-sized servo with a power of more than 750 watts generally has a three-phase 220 volt AC input, and its terminals are R, S, and T. Note: It is absolutely prohibited to directly connect a three-phase 380 volt drive to a 220 volt level driver, otherwise it will cause immediate burnout.
DC power polarity:
For a 24V DC power supply, the positive pole must be connected to "+24V" or "V+", and the negative pole must be connected to "0V" or "V-". The vast majority of servos do not have protection measures against reverse connection. Once the connection is reversed, the internal driver chip or control circuit will be damaged in an instant.
Regenerative resistor wiring:
For applications that require frequent start and stop operations or have large inertia loads, the driver must be connected to an external regenerative resistor.. The video will demonstrate how to connect the resistor between the "P+" and "RB" terminals, or between the "B1" and "B2" terminals. Never allow these two terminals to be short-circuited.
This part is the core difference between all wiring videos, but the underlying logic is exactly the same.
When selecting the control mode, you must use the DIP switch on the driver, or set it to the so-called "position control mode" through the software, which is also the PT mode. The video will demonstrate how to set it up, which is a prerequisite for the signal line to be effective.
Pulse and direction wiring (most versatile):
Use the "Pulse + Direction" mode (Pulse/Dir), which is the standard in 99% of applications.

Common cathode connection method (mainstream situation), that is: the GND at the controller is connected to the PUL- and DIR- of the driver. The controller's pulse pin is connected to PUL+, and its direction pin is connected to DIR+.
Common anode connection method, there are a few cases, that is, the VCC of the controller, which is 5V or 24V, needs to be connected to PUL+ and DIR+, while the pulse and direction signals need to be connected to PUL- and DIR-.
The key point of the video tutorial is that you need to coordinate your hands and eyes. You have to see clearly whether the situation demonstrated in the video is a common cathode or a common anode, and then make relevant adjustments based on the controller you own, such as whether the PLC output is an NPN or PNP signal. The principle of its existence is that the signal current must form a complete loop.
After completing all wiring shown in the video, the following physical checks must be performed before applying power:
[ ] Insulation check: Use the resistance range of the multimeter (at the 20MΩ range) to measure the resistance between the power input terminal and the chassis (that is, the ground wire PE). The value should be infinite.
To check for short circuit, use the on-off setting of the multimeter to measure between V+ and V- in the power supply. At this time, the multimeter should not make a continuous beeping sound.
To confirm the connection, gently pull each connected wire to confirm that it is firmly pressed by the terminal screw and there is no virtual connection.
Wire number tube: Is each end of the wire covered with a clearly marked wire number tube? It is the key to troubleshooting in the later stage, which is as important as the lifeblood and affects whether the troubleshooting can be carried out smoothly.
按以下通用安全原则来做,能够防止99%那与人身安全事故以及设备损坏相关的情况发生。
进行断电操作时,遵循这样的原则:也就是说,凡是涉及接线的操作,或者进行改线的操作,又或者是插拔连接器的操作,都必须要在完全切断了所有电源之后才可以开展,这里所说的所有电源,包含了24V控制电源。
当切断主电源之后,依据放电等待原则,必须等待最少5分钟,因为大功率伺服驱动器内部主电容中储存着高压,而这需要时间将其放电到安全电压(也就是低于36V的电压)。
双人确认制度:于系统首次通电之前时,必定得经由第二的人面依据接线图来展开二次核对。一个人的视觉存在盲点现象,另一个人能够予以补充。
地线的绝对原则是,所有的金属机柜、电机的外壳以及驱动器的散热片,都必须要可靠地连接到厂房的主接地排,地线也就是黄绿线,它的线径不可以小于电源线的线径。
Q1:视频中只讲了24V舵机,我的是5V舵机,能照搬接线吗?
A:不行。电源电压得严格适配。5V的舵机连接24V电源会一下子被烧坏。要依据舵机标签采用5V稳压电源。
Q2:按视频接完线后,电机不转,第一步该检查什么?
A:查看驱动器有无报警情况,留意驱动器上面的7段数码管或者LED灯,依据手册来查找代码,80%的“不转”状况是因为报警,并非接线出现错误。
Q3:伺服电机上电后剧烈抖动,嗡嗡响,是接错线吗?
极大可能是电源相序出现错误,或者编码器线存在虚接情况,先断掉电源,把编码器接头固定紧,查看三相线RST是否有任意两相对调了。
Q4:减速舵机接视频接好后,转动角度小于预期,怎么办?
A:对PWM信号脉宽范围展开检查,其标准为0.5ms至2.5ms对应着0度到180度,倘若信号范围存在不对的情况,那么就要在控制器程序里校准脉宽。
Q5:视频教程里用了屏蔽线,我可以用普通电线代替吗?
嗯,A表示是可以的,然而呢抗干扰的能力会出现下降情况。在电焊机以及变频器在其附近的时候,那是必须要使用屏蔽线的。要是使用普通电线的话,这就会致使脉冲丢步,进而使得电机位置不准确了。
核心观点重申:所有正确的“How to wire steering gear and servo motor video”,其本质都在演示同一套物理定律和工程标准。成功接线的唯一标准是:通电前,电源、信号、地线三项参数经过万用表的绝对确认,且安全规范被严格执行。
Suggestions for action:
1. 马上执行:截下你此刻正在观看的视频里与“驱动器端子定义”有关的页面,将其打印出来,于纸上绘制出你的实际接线图。
2. 一步一步来进行验证:依照“先确认供电,完了之后进行电源接线,接着处理控制信号,再到编码器,最后接地”这样的排列顺序,每搞定一个步骤,就打上一个勾,绝对不允许出现跳跃着操作的情况。
3. 安全进行试运行这般操作:首次开展的运行,要使得电机处于空载状态,并且以极低的速度,像1转每分钟这样来进行点动测试。下一次开机之前先快速进行目检:去确认动力线不存在破损状况,地线连接是牢固的,控制线没有出现松动情况。
若是你手上持有万用表,还有压线钳,以及呈现出清晰状态的一张接线图,那么你与成功驱动电机之间,仅仅欠缺最后一步:严格依照上述所列出的清单,去执行一回检查。此刻就着手开始。
Update Time:2026-04-30
Contact Kpower's product specialist to recommend suitable motor or gearbox for your product.


