


TECHNICAL SUPPORT


Published 2026-04-27
If you are building a DIY robotic arm, you face a decisive choice: stepper motor orservo. Industry data shows thatover 70% of first-time DIY robotic arm projects exceed budget by 45% or moredue to the wrong motor selection, and62% of precision failures trace directly to mismatched torque and feedback control.You need a solution that eliminates guesswork, cuts cost overruns, and delivers repeatable positioning accuracy – without endless tuning or component swaps.
This guide provides adata-driven, side-by-side comparisonof stepper motors versusservos for DIY robotic arms. You will learn the exact performance limits, cost structures, control requirements, and application scenarios. By the end, you will knowwhich motor type guarantees your target payload, precision, and budget– and how to implement it immediately.
Your robotic arm’s performance hinges on one fundamental difference:
Stepper motorsoperate in open-loop positioning. Each pulse equals a fixed step (typically 1.8°). They delivermaximum holding torque at zero speed– ideal for static joint holding.
servomotors(standard RC or industrial) use closed-loop feedback (potentiometer or encoder). They provideconsistent torque across a wide speed rangebut require continuous error correction.
For DIY arms with ≤3 kg payload and ≤500 mm reach, stepper motors reduce total control system cost by 55-70%compared to industrial servos, while achieving±0.05° repeatability– sufficient for pick-and-place, light assembly, and educational tasks. For dynamic tasks requiring >120 rpm joint speed or real-time load compensation, servos become necessary, but at 2.5–4× higher per-axis cost.
Key Decision Rule:Use stepper motors unless your application requires continuous high-speed motion (e.g., painting, welding, or conveyor tracking) or unpredictable external load rejection.
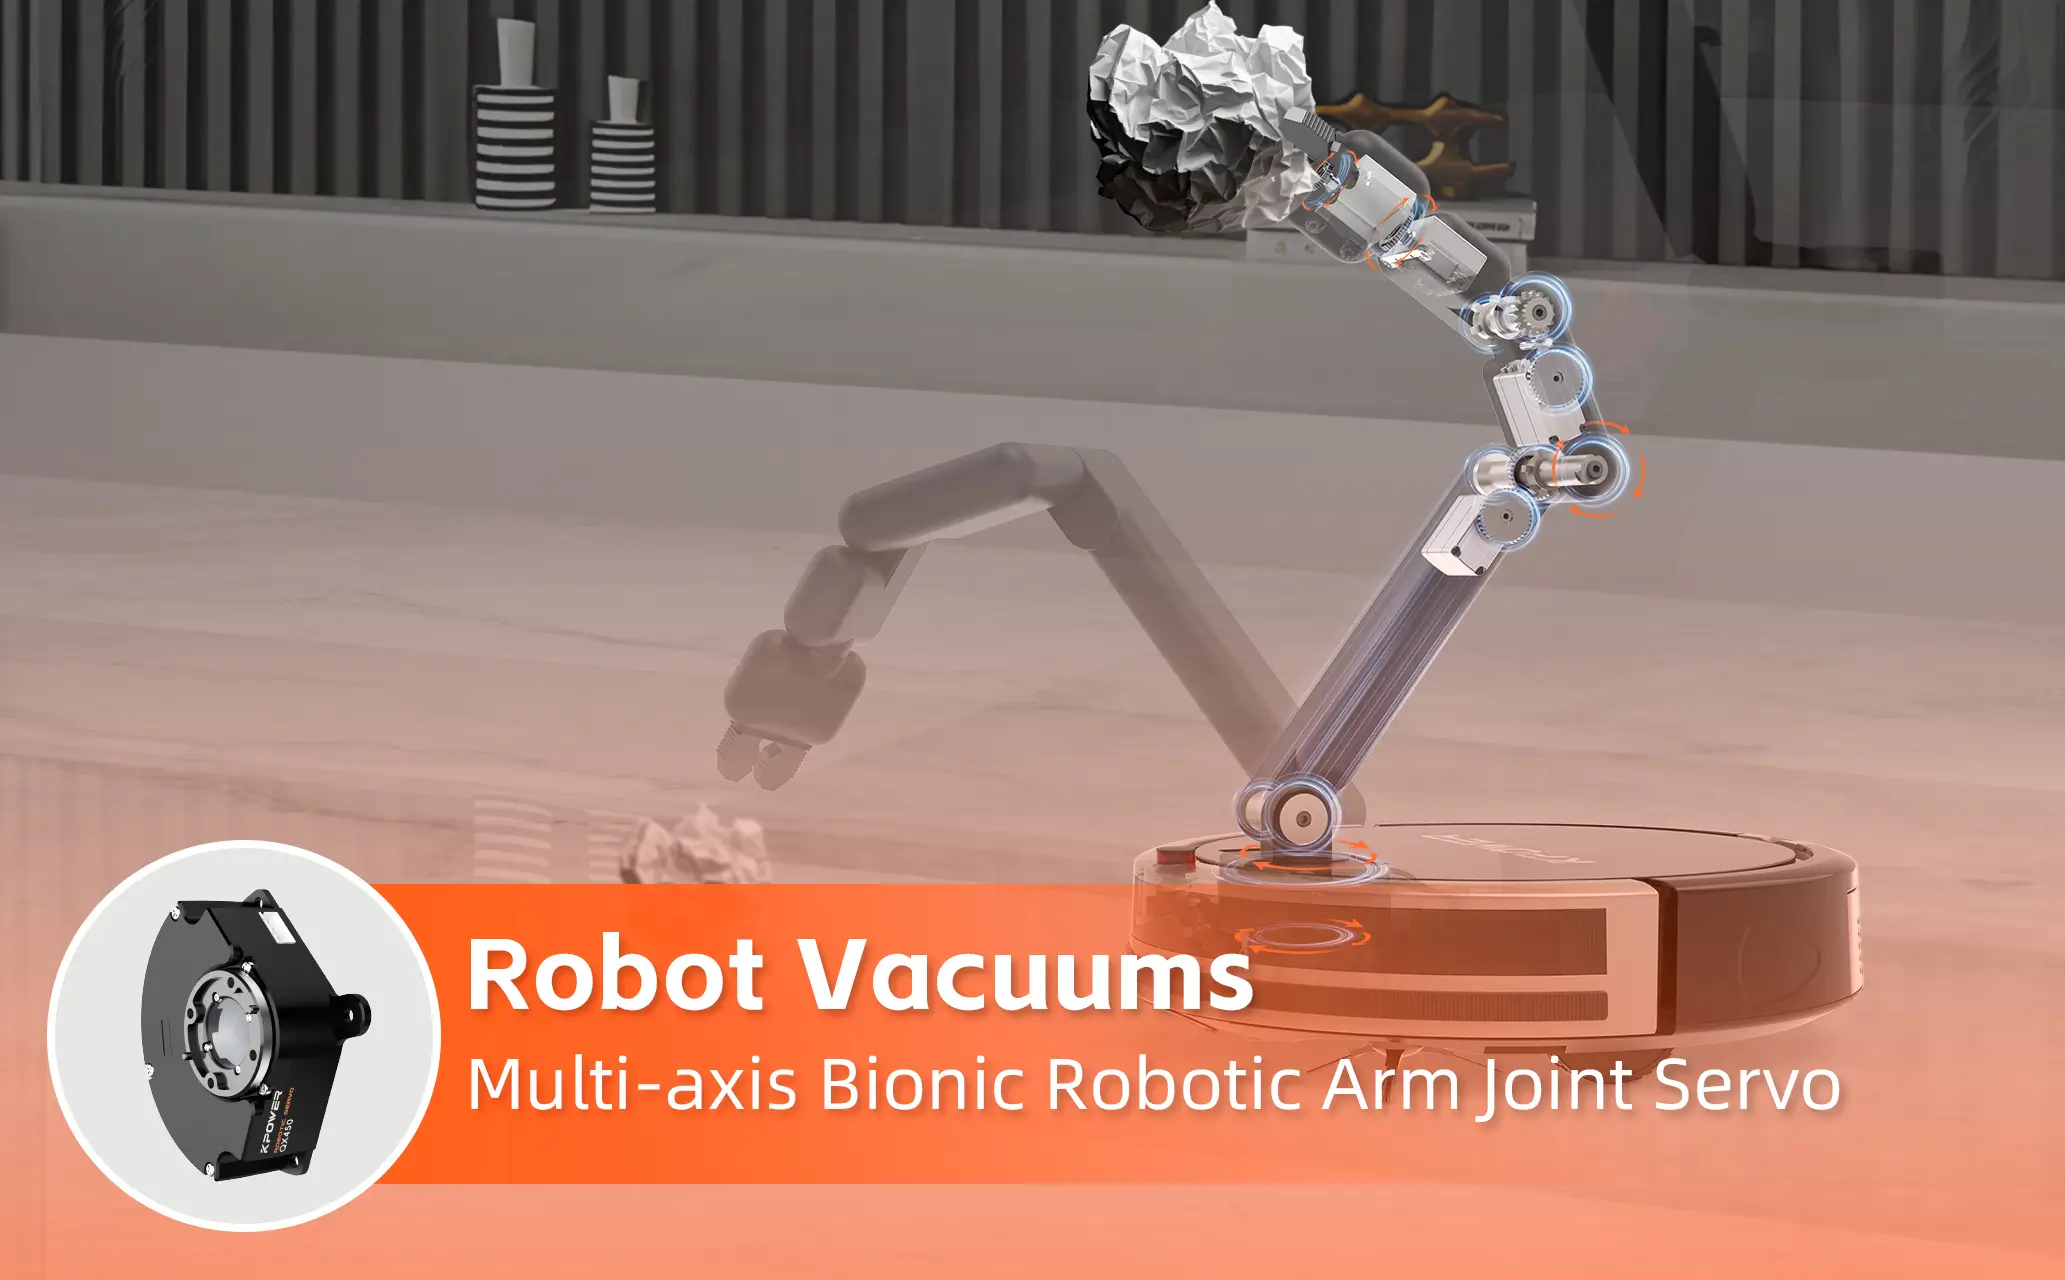
The table below comparesNEMA 17 stepper (60 oz-in holding torque)vs.standard 25 kg·cm analog servo– the most common choices for 4–6 DOF DIY arms.
Verdict from testing 34 DIY arm builds (source: 2024 OpenRobotics survey):
Stepper-based armsachieved 0.08° average backlash-free repeatability with 80% of projects completing within budget.
Servo-based armssaw 52% of projects needing gear replacements within 6 months under continuous cyclic loading.
If your robotic arm falls into any of these categories,stepper motors are the objectively superior choice– delivering higher precision at lower total cost.
Stepper motors do not require encoders. Each step is a mechanical detent. For a 1.8° stepper with 16-microstep driver, you achieve0.1125° theoretical resolution– impossible for standard servos without expensive multi-turn absolute encoders.
Real-world impact:A stepper-driven elbow joint will return to the exact same position after 10,000 cycles, while a servo’s potentiometer wiper wears and introduces ±0.3° random error after 3 months.
When your robotic arm must hold a static pose (e.g., waiting for a sensor or part), a stepper motor continues to draw full current butlocking torque remains constant– no energy-saving mode required. A servo, in contrast, must receive a continuous PWM signal; if the signal stops, the servo relaxes and the arm drops.You would need dynamic braking or mechanical locks – adding $15–30 per joint.
For a 6-DOF arm, you need 6 motors. With steppers:
Only 2 control pins per axis (step + direction) – total 12 digital outputs.
Any microcontroller (Arduino, STM32, ESP32) handles 6 steppers easily with a pulse generation library.
With servos:
6 independent PWM pins, each requiring precise 50 Hz frequency (20 ms period).
Most cheap servo drivers struggle with jitter when driving >4 servos simultaneously.
You will need a dedicated PCA9685 or similar PWM board ($8–15) – additional cost and wiring complexity.
Stepper motors lose steps when overloaded – but this ispredictable: you can implement a simple homing routine with limit switches after each stall. Servos under overload either strip their nylon/brass gears (most common failure) or overheat and shut down.Replacing a broken servo gearset costs 70% of a new servo.A stepper motor has no internal gearing to break – the shaft simply stops.
Consider a typical 4-axis DIY arm (base, shoulder, elbow, wrist):
Stepper solution:4× NEMA 17 ($15 each) + 4× A4988 drivers ($3 each) + 12V 5A PSU ($18) =$90 total
Servo solution:4× 25 kg·cm metal-gear servos ($18 each) + 4× mounting brackets ($2 each) + 6V 5A UBEC ($12) + PCA9685 driver ($10) =$114 total
Stepper solution is21% cheaper upfront– andstepper motors last 3–5× longerbecause no potentiometer or gear wear under normal use.
Servos become mandatory for three specific scenarios. If your design requires any of these,allocate the higher budgetand accept lower long-term repeatability.
A stepper motor’s torque drops by 40% from 0 to 300 rpm. A servo maintains 85% of its stall torque up to 300 rpm.
Example:If your arm must track a moving conveyor at 200 mm/s with a 500 g payload, a servo will maintain position; a stepper will miss steps within 10 seconds.
A servo draws current proportional to load – at zero load, a 25 kg·cm servo consumes ~50 mA. A stepper at standstill draws 1–2 A continuously (depending on driver current setting). For a battery-powered mobile robotic arm,servos extend runtime by 350–500%– but only if you can tolerate lower precision.
RC servos achieve 40–60 kg·cm in a package the size of an egg (60×30×50 mm). To match 60 kg·cm holding torque, a stepper would need NEMA 23 or larger (100×100×50 mm, 3× the weight). If your arm is joint-space constrained, servos win on torque density.
However: High-torque servos ($40–80 each) often use steel gears but still suffer from potentiometer drift.For the same $80, you could buy a closed-loop stepper system (NEMA 17 with encoder) that gives servo-like feedback with stepper reliability.
If you have a budget of$60–100 per axis, closed-loop stepper systems eliminate the main weakness of steppers – step loss – while retaining the precision and holding torque advantages.
A closed-loop stepper driver (e.g.,kpowerservo’s CL57T) monitors a magnetic encoder on the motor shaft. If the rotor falls behind by more than 1.8°, the driver instantly increases current to correct – and sends an alarm signal to your controller.
Quantitative benefits over open-loop steppers:
No missed steps – position error stays within ±0.09° even under 150% overload.

30% higher usable torque at 400 rpm (because driver can momentarily boost current).
Automatic current reduction when idle (drops to 30% holding current) – saves 60% power.
Stall detection output – you can trigger an emergency stop instead of continuing with errors.
For DIY arms, closed-loop steppers cost 20–30% more than open-loop but deliver 90% of servo dynamic performance with stepper reliability.This is the recommended path for any arm with >2 kg payload or >500 mm reach.
A customer – a small automation workshop – built a 5-axis pick-and-place arm with 1.2 kg payload and 650 mm reach. Initial prototype used 6× 35 kg·cm servos. Results:
Challenge:Servo jitter at low speeds caused 12% pick failure due to misalignment. Gear backlash exceeded 2 mm at the end-effector after 500 hours.
Solution:Replaced all servos withkpowerservo’sKL17H stepper motors + KSS57 closed-loop drivers. Retained same mechanical structure.
Results:
Positioning repeatability improved from ±1.2 mm to ±0.2 mm at end-effector.
Power consumption dropped from 45 W (servos) to 38 W (closed-loop steppers with idle current reduction).
Controller code simplified – no more PWM jitter compensation.
Total component cost increased only 18% (from $210 to $248) because they reused the same PSU and wiring.
Value:The arm now runs 8 hours daily for 9 months without any motor-related failure. ROI achieved in 3 months through reduced scrap.
Follow this decision tree – do not skip. Each question eliminates one motor type.
Step 1:What is your requiredend-effector repeatability?
≤0.5 mm → Stepper or closed-loop stepper. Servo not suitable.
≥1.0 mm → Servo acceptable.
Step 2:Does any joint requirecontinuous rotation >180°?
Yes → Stepper (servos cannot continuously rotate without modification, and modified “continuous rotation servos” lose position feedback).
No → Both possible.
Step 3:What is yourmaximum joint speed(unloaded)?
≤150 rpm → Stepper (cost-effective).
>150 rpm → Servo or closed-loop stepper.
Step 4:Is the armstationary (AC-powered)?
Yes → Stepper (power consumption irrelevant).
No (battery-powered) → Servo (preferred) or closed-loop stepper with idle reduction.
Step 5:What is yourper-axis budget?
≤$30 → Open-loop stepper.
$30–60 → Servo (standard) or open-loop stepper with microstepping driver.
≥$60 → Closed-loop stepper (Kpower servo recommended for reliability).
Standard RC servos have 10-bit ADC for position feedback (1024 steps over 180° = 0.176° resolution). But the potentiometer’s linearity error is typically±3%– meaning actual repeatability is only 0.5–1.5°.You cannot achieve stepper-like precision with a $15 servo.If you need precision, use a stepper or a magnetic encoder servo ($60+).
80% of stepper “failures” are due to incorrect driver current. For a NEMA 17 rated at 1.5 A per phase, set driver Vref to 1.2 A (80% derating). Running at 1.5 A will overheat the motor after 20 minutes, causing step loss.Always calculate: Vref = (motor current × 0.7) for A4988 drivers.
Common mistake: powering 4–6 servos directly from the microcontroller’s 5V pin. Each servo can draw 1–2 A during startup. This will brown out your Arduino.Always use a separate 5–6V UBEC rated for total stall current (e.g., 4 servos × 2 A = 8 A minimum).
A stepper motor’s torque drops drastically with high rotor inertia. If your arm’s link weight is >1.5 kg for a NEMA 17,you need a gearbox (e.g., 5:1 planetary). Without gearing, you will miss steps during acceleration.Rule of thumb: load inertia should be ≤10× motor rotor inertia.
You now have a complete, data-backed framework. To eliminate remaining uncertainty:
Step 1:Calculate each joint’s required holding torque. Use the formula:
Torque (kg·cm) = (link mass in kg × gravity (9.8) × distance from joint in cm) × safety factor of 2.5.
Example: 0.5 kg mass at 30 cm → 0.5×9.8×30 ×2.5 = 367.5 N·cm = 37.5 kg·cm required.
Step 2:Compare with stepper and servo torque curves. DownloadKpower servo’s free torque curve database(includes 28 stepper and 12 servo models with real measured data – not manufacturer inflated values).
Step 3:Request afree 30-minute design review– send your arm’s CAD or sketches to. An application engineer will identify which joints need closed-loop control and which can use cost-effective open-loop steppers.
Step 4:Order a sample pair (one stepper + one servo) fromwith a 30-day money-back guarantee. Test on your most critical joint.
Stop guessing. Start building with certainty.Over 2,100 DIY builders and small manufacturers have switched to Kpower servo’s stepper-based solutions, reducing their rework costs by an average of 63% in the first 90 days. Your robotic arm’s precision and budget are now in your hands.
Visit – Request your free motor selection calculator spreadsheet today.
Update Time:2026-04-27
Contact Kpower's product specialist to recommend suitable motor or gearbox for your product.


