


TECHNICAL SUPPORT


Published 2026-02-16
Recently, a friend was tinkering with a small invention and wanted to apply the infrared remote control method to theservocontrol, but found that either theservorotated randomly or simply did not respond. I believe that many friends who are just getting started have encountered similar situations. They want to implement wireless control, but are stuck by a bunch of technical details. In fact, usingan infrared sensor to control theservois essentially to make the servo understand the "words" of the remote control. This matter is not as complicated as imagined. Let's clarify it step by step.
To make the servo obediently obey, the core is to establish the corresponding relationship between the infrared signal and the angle of the servo. The infrared code emitted by the remote control is unique when each button is pressed. Our task is to let the microcontroller capture this code and then translate it into instructions that the servo can understand. This process is like assigning a specific mission to each button on the remote control, such as pressing "Volume +" to make the servo rotate 30 degrees.
In actual operation, we can implement this translation process through programming. When the infrared receiver detects the signal, the microcontroller will immediately decode it and query the program table we set in advance. Once a matching code is found, the corresponding PWM wave is immediately sent to the servo to drive it to rotate to the specified angle. It's like equipping the servo with a pair of ears that can understand infrared commands.
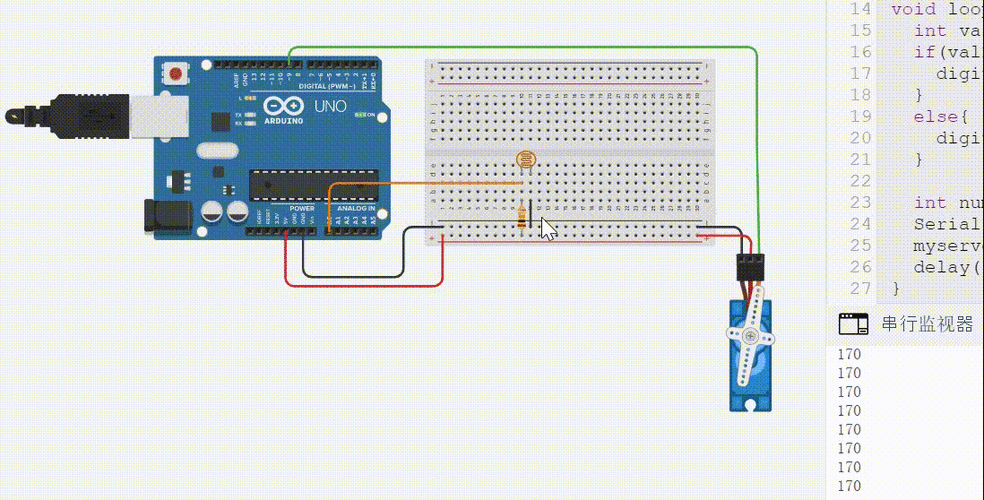
Hardware connection is the foundation of the entire system. If you connect it incorrectly, it will cause smoke. First of all, the three pins of the infrared receiver must be distinguished. Usually VCC is connected to the positive pole of the power supply, GND is connected to ground, and the OUT pin is connected to an interrupt pin of the microcontroller or an ordinary I/O port. This OUT pin is responsible for transmitting the received infrared signal to the brain of the microcontroller.
The connection of the servo is relatively fixed. It has three wires, the brown or black one is the ground wire, the red one is the power wire, and the orange or yellow one is the signal wire. Connect the signal line to the PWM output pin of the microcontroller. Note that if the power of the servo is large, it is best to supply power separately. Do not draw power directly from the microcontroller, otherwise the motherboard may be easily burned. Connect the public ground wires together so that the signal can be transmitted normally.
There are various infrared receivers and remote controls on the market, and choosing the wrong one will make debugging more difficult. For novice friends, it is recommended to directly choose an infrared receiver with a 38kHz carrier frequency. For example, this is currently the most versatile model and is suitable for most home appliance remote controls. As for the remote control, just find an idle TV or set-top box remote control at home. There is no need to buy a new one.
If you want to buy your own remote control, you can choose a small remote control with NEC protocol. The decoding of this protocol is relatively simple, and the most ready-made codes can be found online. Try to avoid choosing remote controls with some unpopular protocols, otherwise the decoding process will give you a headache. Remember, choosing the right hardware is half the success of your project.
Code is the soul of control logic, but don’t be afraid, many basic codes can be found online. We first use library functions to simplify the process, such as using the library to handle infrared reception and using the Servo library to control the servo. During initialization, first define the infrared receiving pin and servo pin, and set the initial angle of the servo.
In the loop function, we let the microcontroller continuously detect whether there is infrared signal coming in. Once there is a signal, read its value and then use the or if statement to make a judgment. If the value is for a specific key, let the servo go to 30 degrees; if it's another key, let it go to 90 degrees. After writing the code, upload it to the microcontroller and test it with the remote control.
When you press the remote control with great expectations, only to find that the servo is either shaking or slow to respond, don't doubt your life in a hurry. The most common cause of servo vibration is insufficient power supply. Especially when the servo requires large torque to rotate, the instantaneous current will pull the voltage low, causing the microcontroller to reset. Try powering the servo separately, or connecting a large capacitor in parallel to both ends of the power supply to stabilize the voltage.
Another common cause is infrared signal interference. If there are strong lights or other infrared devices around, reception may be affected. Make sure the infrared receiver is not blocked and the remote control is facing it. Some debouncing processing can also be added to the code, such as a slight delay before execution after detecting the signal, so as to eliminate the possibility of false triggering.
After you can control a servo with one button, you will definitely want to play something more complex. For example, use one remote control to control multiple servos, or achieve stepless speed regulation. This is actually not difficult. We can use different buttons on the remote control to control different servos. For example, button 1 controls servo A, and button 2 controls servo B. They do not interfere with each other and each performs its duties.
If you want to control the servo to rotate continuously, you can define two keys, one to increase the angle and one to decrease the angle. Each time a key is pressed, the angle changes by 5 or 10 degrees, allowing for fine adjustment. You can even design a program that allows the servo to automatically execute a set of preset action procedures after receiving a specific sequence of keys, making a simple gadget instantly smart.
Seeing this, are you already itchy and want to try it right away? In fact, this method of playing is particularly suitable for use in the modification of smart cars, camera heads or robotic arms. I would like to ask everyone, in your creative project, what kind of interesting action do you most want to use the infrared remote control to control the servo to complete? Welcome to leave a message in the comment area to share your wonderful ideas. If you find this article helpful to you, don’t forget to like it and share it with more friends who need it!
Update Time:2026-02-16
Contact Kpower's product specialist to recommend suitable motor or gearbox for your product.


