
























TECHNISCHE UNTERSTÜTZUNG


Veröffentlicht 2026-07-11
Schnelle Antwort
Sie können a steuernServoController-Platinemit einem Arduino, indem Sie die Signal-, Strom- und Erdungspins der Platine mit dem digitalen Ausgang, der externen Stromversorgung und der gemeinsamen Masse des Arduino verbinden. Der Arduino sendet PWM-Signale, um Position, Geschwindigkeit oder Drehmoment zu steuern. Dieser Aufbau wird häufig in Robotik-, Automatisierungs- und CNC-Anwendungen verwendet. Überprüfen Sie vor dem Kauf die Spannungskompatibilität, den Nennstrom und das Kommunikationsprotokoll (z. B. I2C, seriell oder PWM). Die Wahl des falschen Controllers kann zu Überhitzung, ruckelnder Bewegung oder Kommunikationsfehlern führen. Überprüfen Sie immer dieServoPassen Sie den Eingangslogikpegel und die Leistungsanforderungen des Controllers an Ihr Arduino-Modell an.
Einführung
Viele Ingenieure und Projektmanager stehen vor einer frustrierenden Lücke: Sie haben klare Anforderungen an die Bewegungssteuerung, aber die Schnittstelle dazwischenArduinound dieServoController-Platinefühlt sich unklar an. Möglicherweise haben Sie einen Servo mit dem richtigen Drehmoment und der richtigen Geschwindigkeit ausgewählt, stellen dann aber fest, dass die Steuerplatine nicht auf die Signale Ihres Arduino reagiert. Oder schlimmer noch, die Platine brennt nach ein paar Testläufen durch.
Diese Nichtübereinstimmung ist häufig darauf zurückzuführen, dass die Logikspannungspegel, die Stromaufnahme oder das Kommunikationstiming ignoriert werden. In vielen Beschaffungssituationen konzentrieren sich Käufer auf die Servospezifikationen, übersehen jedoch die Kompatibilität der Controller-Karte mit Standard-Mikrocontroller-Ausgängen. Das Ergebnis: verzögerte Projekte, unerwartete Neugestaltungen oder wiederholte Bestellungen von Ersatzplatinen.
Dieser Artikel hilft Ihnen zu verstehen, wie Sie einen Arduino an eine Servo-Controller-Karte anpassen, was Sie vor dem Kauf überprüfen sollten und wie Sie häufige Integrationsfehler vermeiden können, die Zeit und Budget kosten.
01Inhaltsverzeichnis
1. Was ist ein Servo-Controller-Board und wie funktioniert es mit Arduino?
2. Wichtige Spezifikationen, die vor dem Anschließen überprüft werden müssen
3. So verdrahten Sie einen Arduino mit einer Servo-Controller-Karte
4. Häufige Fehler bei der Verwendung von Arduino mit Servocontrollern
5. Was Sie vor dem Kauf einer Servo-Controller-Karte vergleichen sollten
6. Fragen, die Käufer häufig zu Arduino und Servosteuerung stellen
7. Auswahl des richtigen Servoreglers für Ihre Anwendung
02Was ist ein Servo-Controller-Board und wie funktioniert es mit Arduino?
AServo-Controller-Platineist eine Schnittstelle zwischen Ihrem Steuerungssystem (wie einem Arduino) und dem Servomotor. Es interpretiert Eingangssignale – typischerweise PWM-, I2C- oder serielle Befehle – und treibt den Motor in die gewünschte Position, Geschwindigkeit oder das gewünschte Drehmoment.
Der Arduino sendet einen Befehl, kann aber die meisten Industrie- oder Hobby-Servos über sehr kleine Größen hinaus nicht direkt mit Strom versorgen oder regeln. Das Controller-Board übernimmt die Leistungsregelung, Signalverstärkung und Feedback-Verarbeitung.
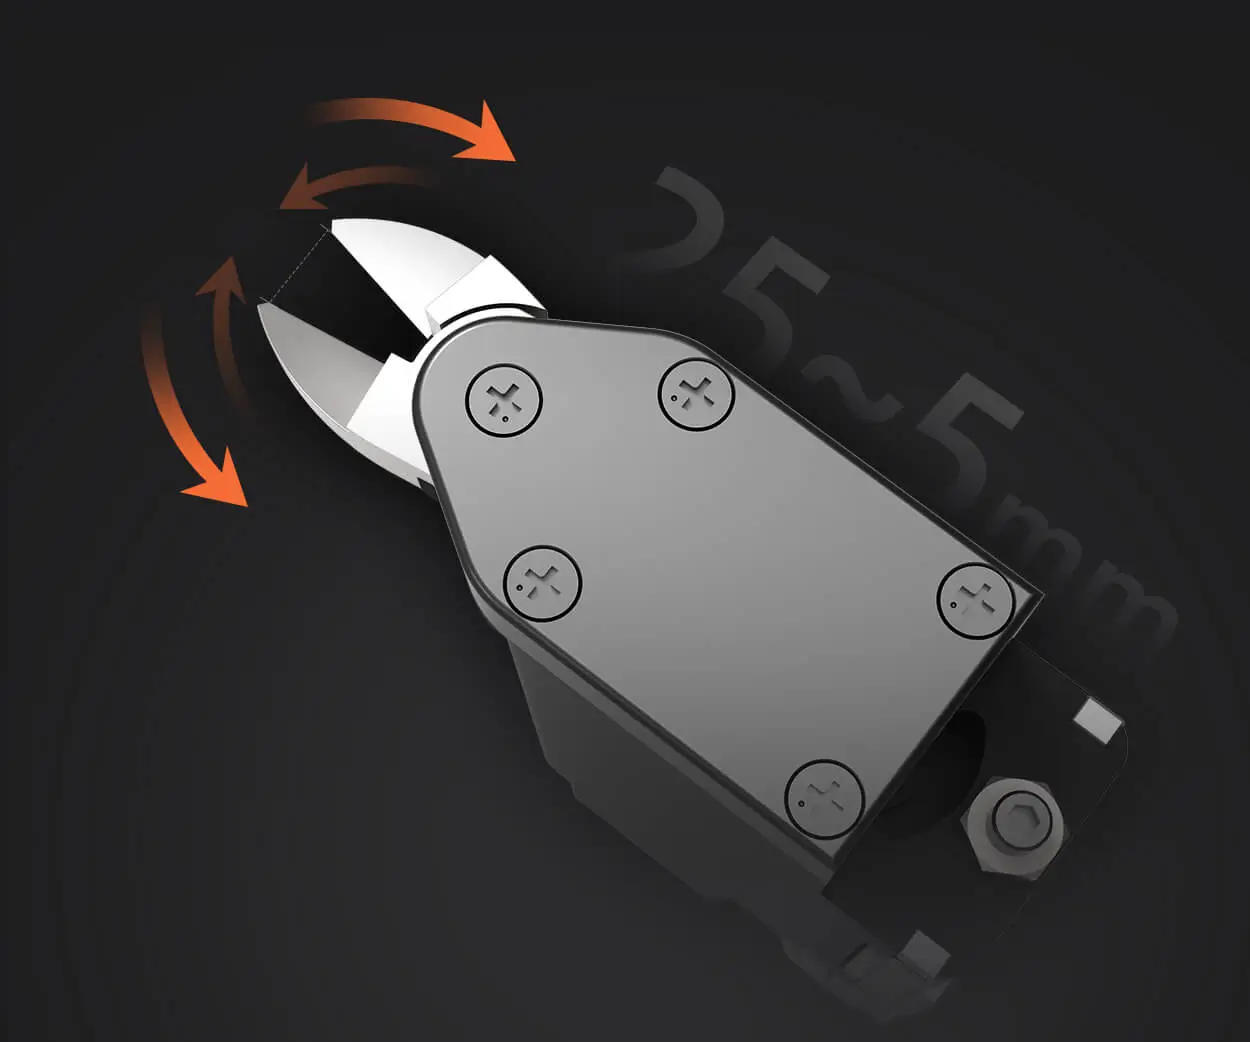
Diese Trennung ist wichtig, da die Ausgangspins eines Arduino normalerweise nur 5 V bei 40 mA pro Pin liefern. Ein Servomotor benötigt möglicherweise 6 V bis 24 V bei mehreren Ampere. Ohne ein Controller-Board riskieren Sie eine Beschädigung des Arduino oder eine unzuverlässige Bewegung.
Warum das für die Beschaffung wichtig ist:Wenn Sie ein Controller-Board für ein Arduino-basiertes Projekt beschaffen, müssen Sie den Eingangslogikpegel, die Ausgangsstromkapazität und das Kommunikationsprotokoll überprüfen. Boards, die nur 5-V-Logik akzeptieren, funktionieren möglicherweise nicht mit 3,3-V-Arduino-Boards und umgekehrt.
03Wichtige Spezifikationen, die vor dem Anschließen überprüft werden müssen
Bei der Auswahl von aServo-Controller-PlatineKonzentrieren Sie sich bei der Verwendung mit einem Arduino auf diese fünf Parameter:
Beispiel:Wenn Sie sechs Servos in einem Roboterarm steuern, ist ein 6-Kanal-Servo erforderlichServo-Controller-Platinemit I2C-Schnittstelle und 5-V-Logikeingang ist eine übliche Ergänzung für einen Arduino Uno.
Mit Boards, die I2C-Kommunikation nutzen, können Sie viele Servos mit nur zwei Arduino-Pins (SDA und SCL) steuern. Dadurch werden andere Pins für Sensoren oder zusätzliche Steuerlogik frei.
04So verdrahten Sie einen Arduino mit einem Servo-Controller-Board
Eine typische Verbindung folgt diesen drei Schritten:
Schritt 1 – Leistung:Verbinden Sie den Stromeingang der Servocontrollerplatine mit einer externen Stromversorgung. Versorgen Sie es nicht über den 5-V-Pin des Arduino mit Strom, es sei denn, die Gesamtstromaufnahme liegt unter 500 mA und die Platine ist dafür ausgelegt.
Schritt 2 – Signal:Verbinden Sie den digitalen Ausgangspin des Arduino (z. B. Pin 9 für PWM) mit dem Signaleingangspin des Controllers. Bei I2C-Boards verbinden Sie SDA und SCL mit den entsprechenden Arduino-Pins.
Schritt 3 – Boden: Connect the Arduino's GND to the controller board's GND. This is mandatory. Without a common ground, signals become erratic, and the servo may twitch or fail to hold position.
Häufiges Problem: Many first-time integrators forget the ground connection. The servo appears unresponsive or moves randomly. Always verify the ground loop before troubleshooting other components.
05Common Mistakes When Using Arduino with Servo Controllers
Mistake 1 — Ignoring power requirements. A servo under load can draw 2–5 times its rated current during startup or stall. If your power supply is undersized, the controller board may reset or the servo may stutter.
Mistake 2 — Using 3.3V Arduino with 5V logic controllers. Some servo controller boards expect 5V logic signals. A 3.3V Arduino (like the Due or Zero) may not reliably trigger the logic high threshold. Use a level shifter or select a board that supports 3.3V input.
Mistake 3 — Overloading the Arduino's onboard regulator. If you power multiple servos from the Arduino's 5V pin, the onboard regulator overheats and shuts down. Always use an external power supply for servo power.
Mistake 4 — Not checking communication timing. Some serial-based controller boards require specific baud rates or handshake sequences. If your Arduino code does not match, the board will not respond.
06What to Compare Before You Buy a Servo Controller Board
Use this comparison table when evaluating options for an Arduino-based project:
Schlüssel zum Mitnehmen: If your project requires more than four servos or needs position feedback, an I2C or serial-based Servo-Controller-Platine is usually a better choice than individual PWM pins.
07Questions Buyers Often Ask About Arduino and Servo Control
Q1: Can I control a servo directly from an Arduino without a controller board?
Yes, for small hobby servos (9g to 20g) drawing under 500mA. For larger or multiple servos, a controller board is recommended to protect the Arduino.
Q2: What happens if I use a 5V servo controller with a 3.3V Arduino?
The controller may not recognize the logic high signal. Use a level shifter or choose a board that accepts 3.3V logic.
Q3: How do I know if my power supply is sufficient?
Add the peak current for all servos and multiply by 1.5 for safety margin. For example, four servos rated at 1A each may draw 6A during startup.
Q4: Can I control multiple servos with one Arduino pin?
Not directly. Use a servo controller board with I2C or serial communication to control many servos from one pin pair.
Q5: What is the most common communication protocol for beginners?
PWM is simplest for one or two servos. I2C is preferred for multi-servo projects because it uses fewer pins.
Q6: Do all servo controller boards support feedback?
No. Feedback requires boards with dedicated input for potentiometer or encoder signals. Verify before purchase.
Q7: Can I use a servo controller board with an Arduino Mega?
Yes. The Mega has more PWM pins and supports I2C and serial communication. Ensure logic voltage compatibility.
Q8: What should I check if my servo jitters after connecting?
Check the ground connection, power supply stability, and signal wire shielding. Also verify that the PWM frequency matches the servo's specification.
Q9: Is it safe to hot-swap servos while the controller board is powered?
Not recommended. Hot-swapping can cause voltage spikes that damage the controller or the servo.
Q10: Where can I find the correct library for my servo controller board?
Most manufacturers provide Arduino libraries on their website or GitHub. Verify library compatibility with your Arduino IDE version.
08Choosing the Right Servo Controller for Your Application
Auswählen einesServo-Controller-Platine for Arduino integration comes down to three decisions: power, communication, and channel count.
For a single-axis project with low torque, a basic PWM controller or direct Arduino connection may work. For multi-axis systems, an I2C or serial controller reduces wiring complexity and improves reliability.
When to choose a basic PWM board: You need one or two servos, low budget, simple code.
When to choose an I2C or serial controller: You need three or more servos, feedback, or precise speed control.
What to avoid: Boards with unclear documentation, no logic voltage specification, or missing ground pins. These often lead to integration delays.
If you are evaluating a Servo-Controller-Platine for an upcoming project, start by listing your servo count, voltage requirements, and desired communication method. Then cross-check with the specification table above. This approach reduces the risk of ordering an incompatible board and helps you move from prototype to production faster.
For a detailed engineering review of your motion control requirements, consider sending your specifications to a supplier who can verify compatibility between your Arduino and the servo controller board.
Update Time:2026-07-11

Wenden Sie sich an den Produktspezialisten von Kpower, um einen geeigneten Motor oder ein geeignetes Getriebe für Ihr Produkt zu empfehlen.


