


ASSISTANCE TECHNIQUE


Publié 2026-01-19
So you’ve got a micro servomoteur in hand, ready to make something move—a robot’s arm, a little car’s steering, maybe a smart home gadget. But then it hits you: how exactly do you connect things to that tiny servomoteur horn? It can feel like trying to fit a square peg into a round hole, only tinier and more frustrating.

If that sounds familiar, you’re not alone. That small piece of plastic or metal—the servomoteur horn—often becomes the make-or-break point in a project. Attach it poorly, and everything wobbles, slips, or just… stops. Do it right, though, and motion becomes smooth, reliable, and exactly what you imagined.
Let’s talk about why this matters, and how to get it right without overcomplicating things.
Think of it as the handshake between your servo and your project. A weak handshake doesn’t inspire confidence. In mechanical terms, a loose or misaligned horn means lost motion, extra strain on the servo gears, and sooner or later—failure. Ever seen a hobby robot’s head droop slowly mid-turn? Or a model plane’s flap jitter instead of gliding? Often, it traces back to how the horn was attached.
It’s not just about tightness. It’s about alignment, material choice, and understanding what you’re asking that tiny motor to do. Push it too hard, and things strip. Too gentle, and nothing holds. So what’s the sweet spot?
First, know your horn types. Most micro servos come with a few options: single-arm, cross, double-sided. Each suits different needs. Connecting something to them usually means a screw, a glue, or a snap-fit—but not all methods are equal.
Screws are common. They seem straightforward—just tighten and go, right? Well, almost. Over-tighten, and you risk cracking the plastic or deforming the horn. Under-tighten, and vibration works it loose over minutes. The trick is firm but gentle pressure, and sometimes a drop of thread-lock adhesive if the application involves constant movement.
Then there’s adhesive. Superglue can be a quick fix, but it’s often permanent and brittle. For temporary setups or prototypes, that might be a headache. Epoxy can offer more strength, but it adds weight and cures slowly. And what if you need to adjust or replace the part later?
Snap-fit designs are neat when available—click and play. But they rely on precise molding and can wear out after repeated detachment.
So which way is best? It depends. But here’s a principle: match the method to the motion. Light-duty, occasional movement? A screw might suffice. Heavy vibration, constant rotation? You might need screws plus adhesive, or a custom-mounted horn.
Wait—can I just drill a hole in the horn myself? Sure, you can. But micro servo horns are small. Drill off-center, and you introduce wobble. The material might also crack if not supported properly. If you must modify, go slow, use a sharp bit, and secure the horn firmly while working.
What about 3D-printed horns? They’re a flexible alternative. You can design exactly what you need—special shapes, extra mounting points. Layer adhesion and material strength matter here. Print with enough infill, and consider adding small metal inserts for screw threads to avoid stripping.
Is there a “right” screw size? Typically, micro servos use M1.6 or M2 screws. Too long, and they hit internal gears. Too short, and they don’t bite. kpuissance’s accessory packs often include matched screws—convenient, yes, but also engineered to fit without guesswork.
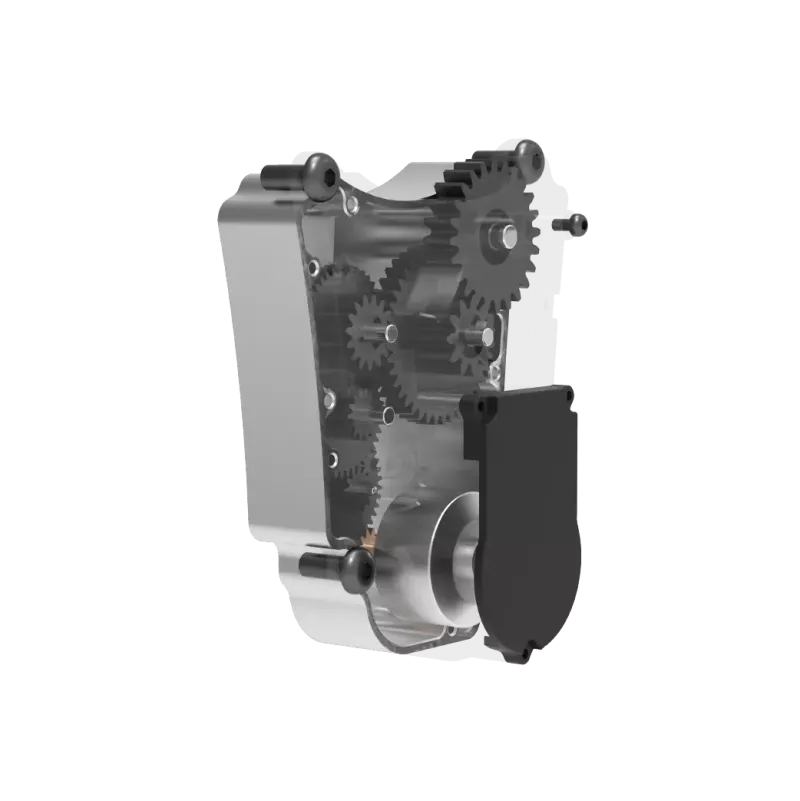
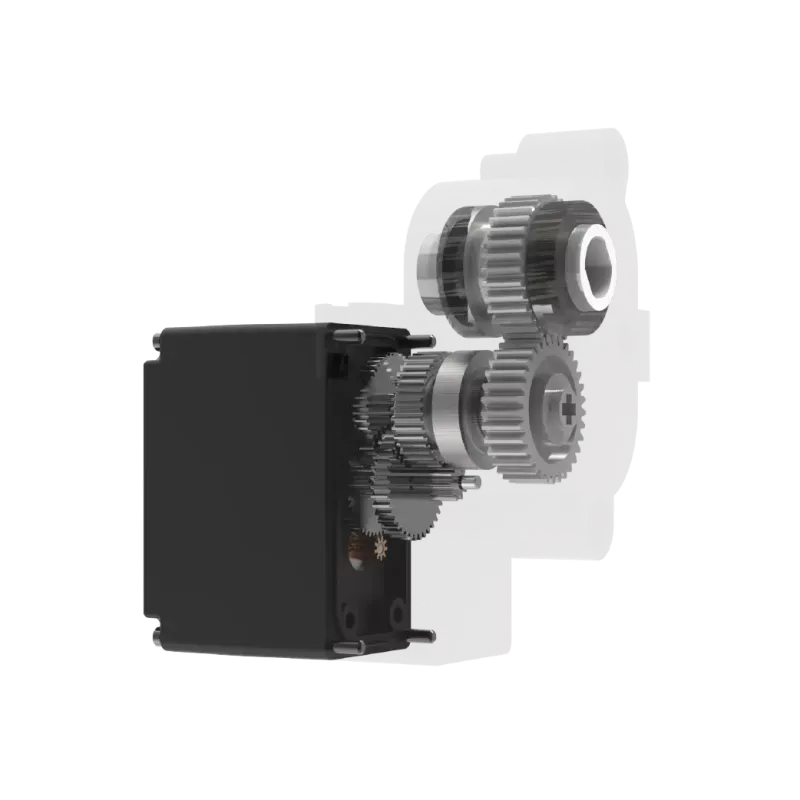
Why does my horn keep slipping on the servo shaft? That’s usually about fit and wear. The spline—those tiny teeth on the shaft and horn—must mesh cleanly. If worn or misaligned, they’ll skip. Sometimes, a thin shim or a careful wrap of PTFE tape can improve grip, though for the long run, a fresh horn works better.
Let’s step beyond just attaching. Think about load. A micro servo isn’t a powerhouse. If you’re moving a long lever or a heavy object, that stress concentrates at the horn. Reinforce the connection point. Spread the load if possible. And remember, smooth motion beats jerky motion every time—less shock on the parts.
Materials play a role too. Nylon horns damp vibration; metal horns offer rigidity. In projects where precision matters, even a tiny amount of flex can throw things off. Here, a well-made aluminum horn—like some from kpuissance’s range—can keep things steady.
Maintenance? Often overlooked. Check screws now and then. Look for cracks or wear marks. A loose connection today is a failure tomorrow.
Getting that micro servo horn attached isn’t just a step—it’s the foundation. Skip the rush. Think about what you’re building, how it’ll move, and what forces will act on that joint. Sometimes the stock horn works fine; sometimes a tailored solution saves the day.
And if you ever feel stuck, look at how others have solved similar puzzles. There’s a quiet satisfaction in seeing a small part hold firm, motion crisp and responsive, your idea alive and moving just as planned. That’s the goal—no drama, just a solid, reliable connection.
So next time you face that tiny horn, take a breath. Choose your method with a little intent. Your servo—and your project—will thank you.
Créé en 2005,kpuissancea été dédié à un fabricant professionnel d'unités de mouvement compactes, dont le siège est à Dongguan, dans la province du Guangdong, en Chine. Tirant parti des innovations en matière de technologie d'entraînement modulaire, Kpower intègre des moteurs hautes performances, des réducteurs de précision et des systèmes de contrôle multiprotocoles pour fournir des solutions de systèmes d'entraînement intelligents efficaces et personnalisées. Kpower a fourni des solutions de systèmes d'entraînement professionnelles à plus de 500 entreprises clientes dans le monde avec des produits couvrant divers domaines tels que les systèmes de maison intelligente, l'électronique automatique, la robotique, l'agriculture de précision, les drones et l'automatisation industrielle.
Heure de mise à jour:2026-01-19

Contactez le spécialiste des produits Kpower pour recommander un moteur ou une boîte de vitesses adapté à votre produit.


