


TECHNICAL SUPPORT


Published 2026-01-19
Imagine you've built a beautiful machine.servomotors hum with precision, robotic arms move in perfect sync, and every gear knows its job. But what if the parts stopped talking to each other? If an arm didn't know where the gripper had moved, chaos would follow. That’s the silent struggle in the digital world with microservices. You build these smart, independent modules—each a littleservoin a vast machine—but how do they find each other? How does the payment service locate the user profile service in a sea of code? That’s the puzzle of registry and discovery.
Without it, things get messy. You might hardcode locations, which is like welding every part of your machine into one fixed position. Try upgrading or replacing a component then. Or services might broadcast their presence wildly, creating network noise that slows everything down. Suddenly, your elegant system is shouting in a crowded room, wasting energy just to say “I’m here!”
Think of a well-organized toolbox. You don’t rummage through a heap of wrenches; you open a drawer and find the exact one, labeled and ready. A microservices registry does just that. It’s the central drawer where every service registers itself when it comes online. “Hey, I’m the inventory service, and I live at this address.” Discovery is the other half—when another service needs it, it checks the registry and finds that address instantly. No shouting, no guessing.
But not all toolboxes are built the same. Some drawers jam. Some labels fade. A good solution needs to be resilient, like a spring that returns to shape after pressure. If the registry itself fails, the whole system shouldn’t collapse. It also needs to be lightweight, adding no noticeable drag to your operations. And it must be simple. If setting it up feels like calibrating a dozen servo drivers from scratch, you’ll lose time before you even start.
Let’s talk brass tacks. When services find each other smoothly, your applications respond faster. There’s no delay while one component searches for another. It’s the difference between a robotic arm moving fluidly versus jerking and pausing to calculate its next position.
Scaling becomes less of a headache. Spinning up a new instance of a service? It registers itself automatically. Traffic getting heavy? The load balancer discovers all available instances and distributes the work. It’s like adding more servos to an assembly line without rewiring the entire control system.
Then there’s maintenance. Need to take a service down for an update? You deregister it. The registry stops sending traffic its way, while other services seamlessly find the remaining healthy ones. Zero downtime upgrades move from a pipe dream to a standard procedure.
We’ve seen these challenges up close while working with motion control and mechanical systems. The principle is similar: reliability and precision matter, whether you’re commanding a servo or a software service. Our approach focuses on building a registry and discovery mechanism that just works quietly in the background.
It’s designed for environments that can’t afford complexity. You get a clear dashboard to see what’s running and where, but the heavy lifting—health checks, failure detection, real-time updates—happens automatically. It’s like having a self-lubricating gearbox; you focus on the machine’s output, not the maintenance of the mechanism itself.
One user likened it to giving each microservice its own internal GPS. They know their own location and can find their teammates without a central command barking orders every second. This decentralized intelligence makes the system robust.
Getting started doesn’t require a deep dive into theory. The first step is inventory. List your microservices. Map out which ones talk to which others. You’ll often find a few critical conversations that everything else depends on.
Next, integrate the registry. This usually means adding a small, lightweight client library to each service—a few lines of code, not a rewrite. This client handles the registration and the regular “heartbeat” to confirm it’s still alive.
Then, flip the switch. Change your service-to-service calls from using hardcoded addresses to asking the registry for a current, healthy address. This is the moment the shouting stops and the organized conversation begins.
You’ll notice changes quickly. Failed services are isolated faster. New features can be rolled out to a subset of instances for testing. The system feels more… alive. It adapts.
Behind every microservice is a team building something. The frustration of debugging a failing call in a distributed system is real. It eats time and morale. A reliable discovery system isn’t just about efficiency; it’s about giving that time back. It’s about predictability. When you know your services can find each other, you can think about the next feature, the bigger problem, not just keeping the lights on.
It turns a potential source of constant firefighting into a trusted utility. Like a well-designed mechanical joint that you never have to think about, it just holds firm and allows movement. That peace of mind lets creativity flourish. Teams stop worrying about the plumbing and start building better rooms.
In the end, technology serves people. A tool that removes friction, that works so seamlessly it becomes invisible, is a tool that empowers. Whether you’re orchestrating servos or software, the goal is the same: to create motion, to build something that works, and to make the process of building it a little more human. That’s the discovery worth making.
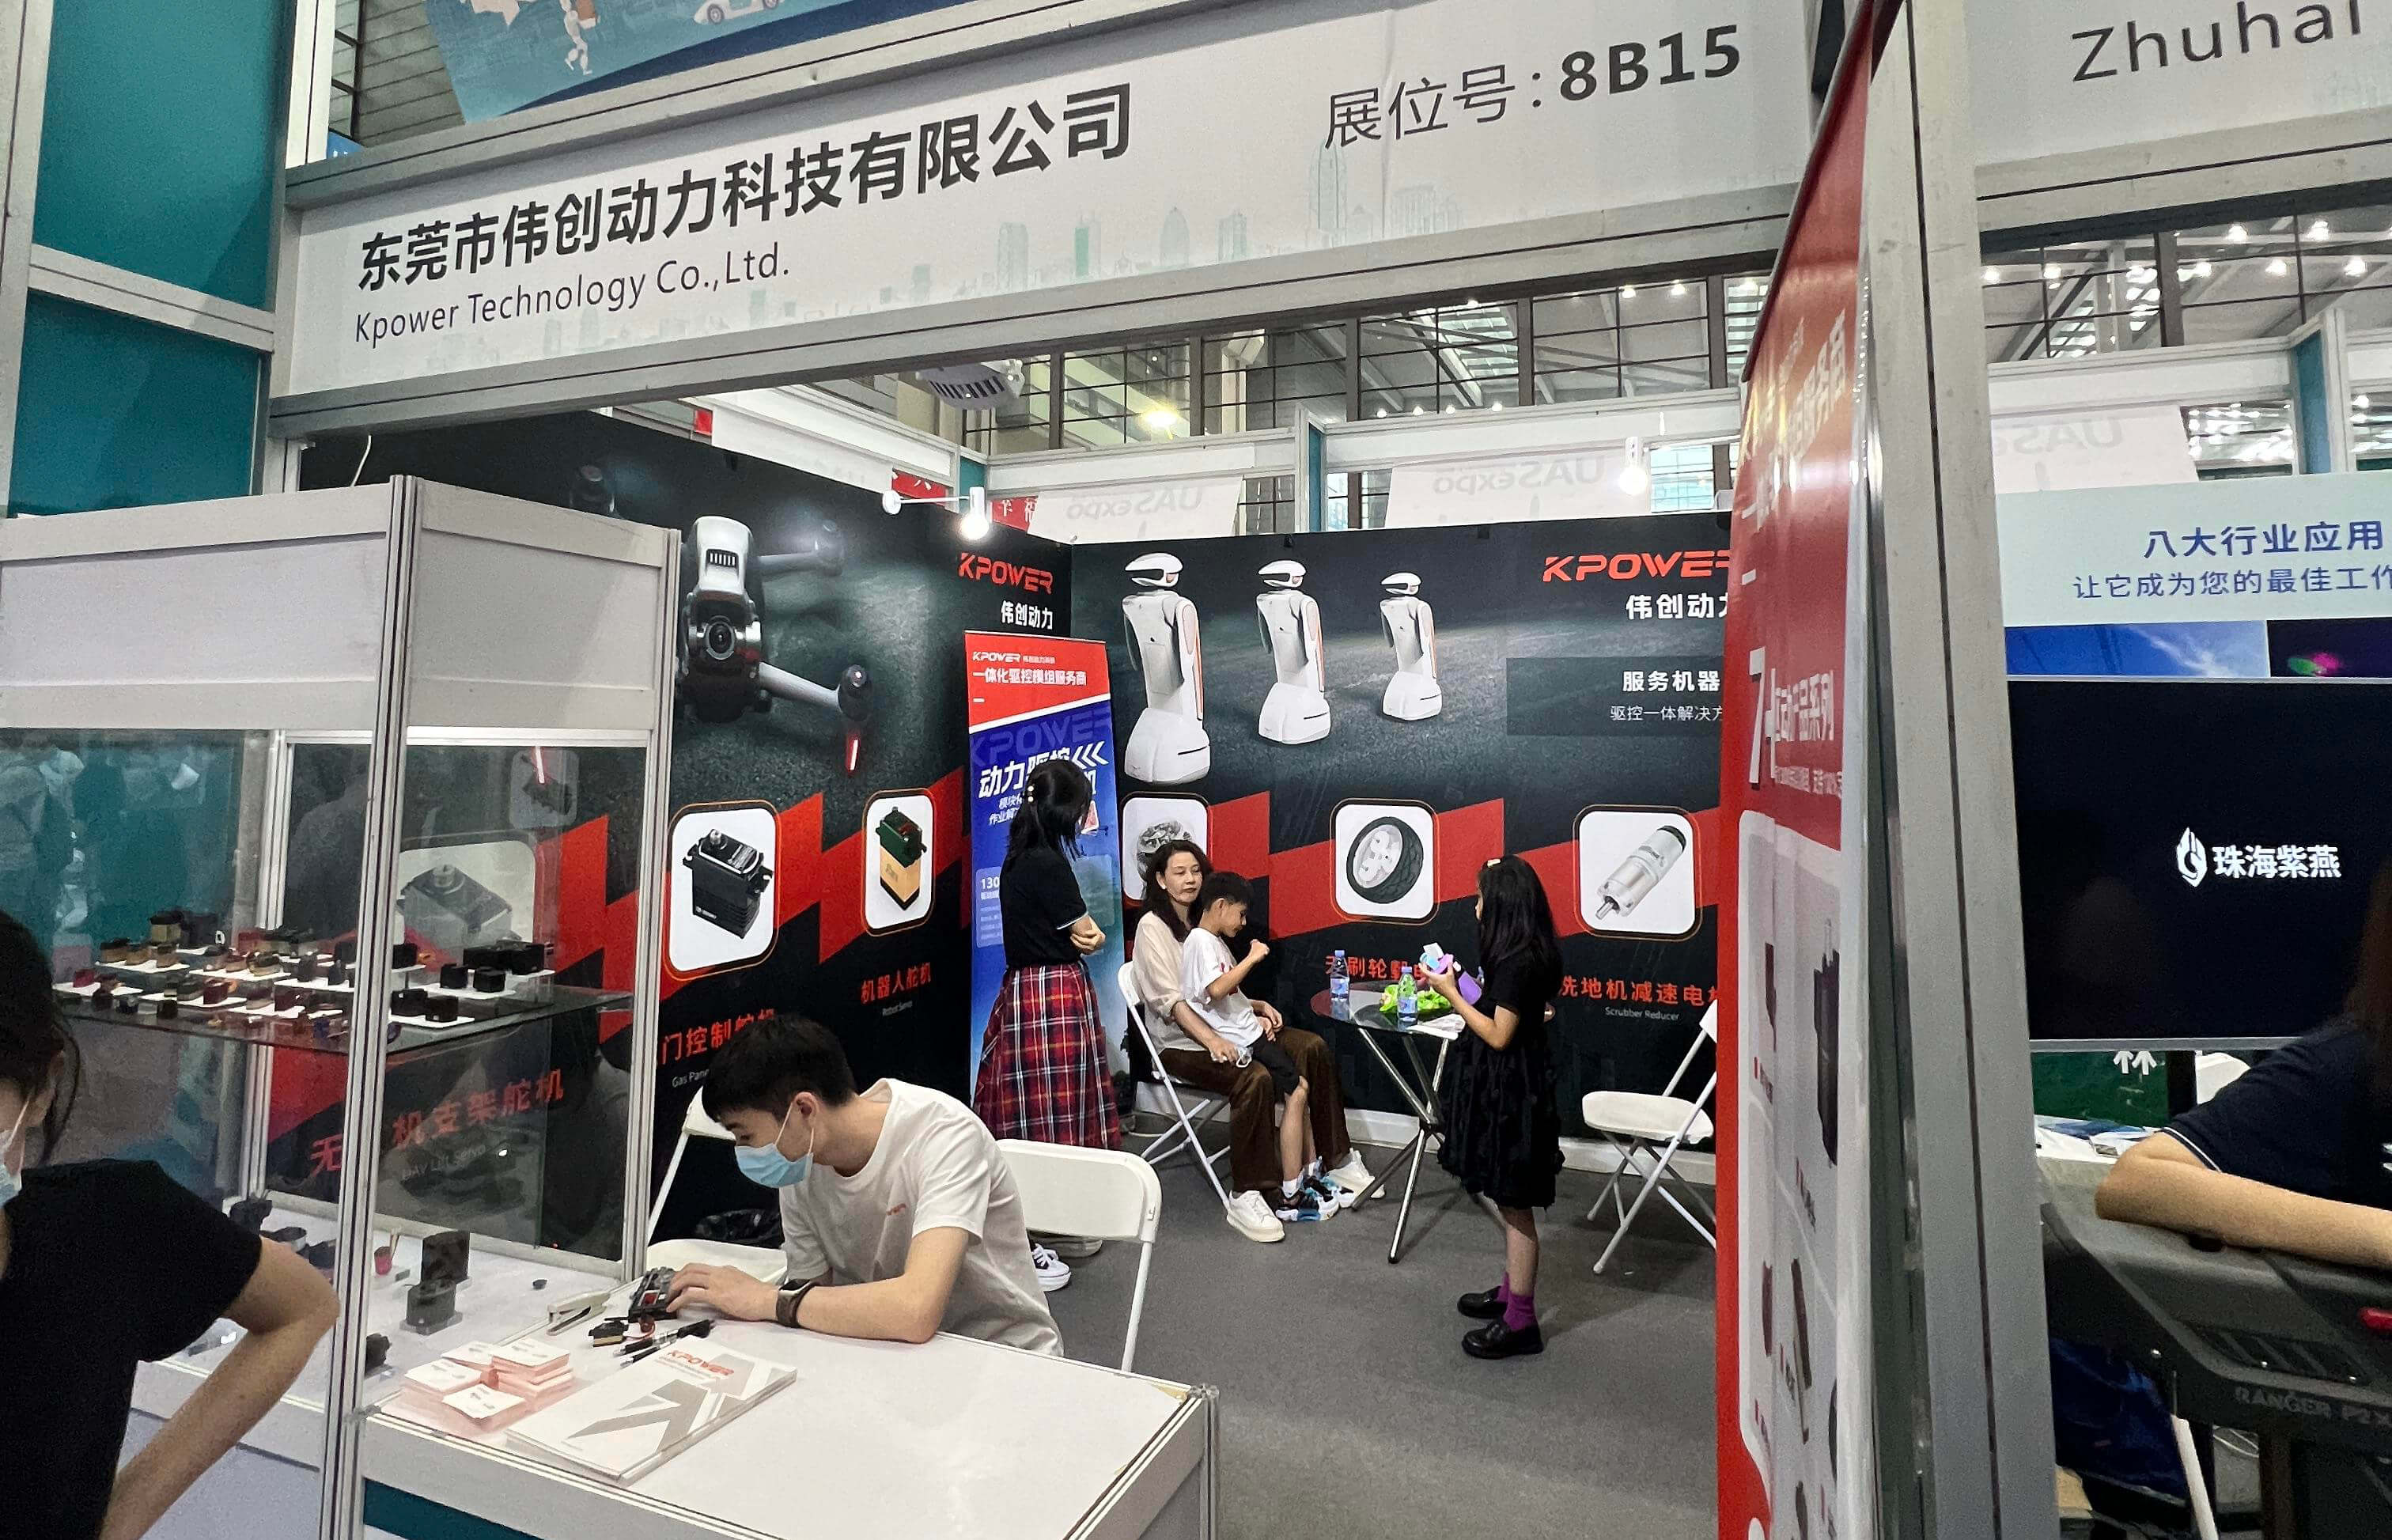
Established in 2005,kpowerhas been dedicated to a professional compact motion unit manufacturer, headquartered in Dongguan, Guangdong Province, China. Leveraging innovations in modular drive technology,kpowerintegrates high-performance motors, precision reducers, and multi-protocol control systems to provide efficient and customized smart drive system solutions. Kpower has delivered professional drive system solutions to over 500 enterprise clients globally with products covering various fields such as Smart Home Systems, Automatic Electronics, Robotics, Precision Agriculture, Drones, and Industrial Automation.
Update Time:2026-01-19
Contact Kpower's product specialist to recommend suitable motor or gearbox for your product.


